If the Linux Print App encounters problems, submit print app logs first when possible. Logs help wēpa support review upload, login, CUPS, or print app issues.
If the built-in log collection option does not work, use the manual log retrieval section below. The Linux x64 and ARM64 Debian packages use the same log locations.
Submit Print App Logs
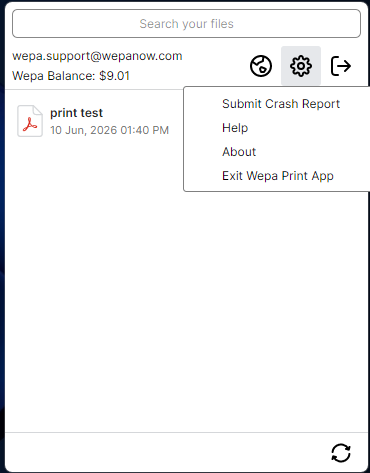
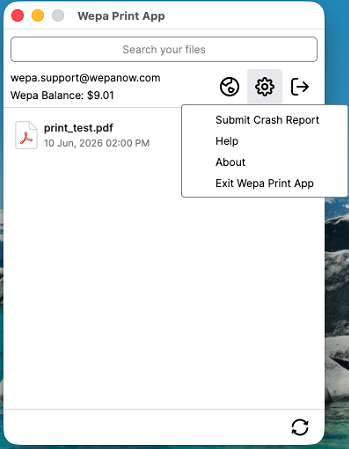
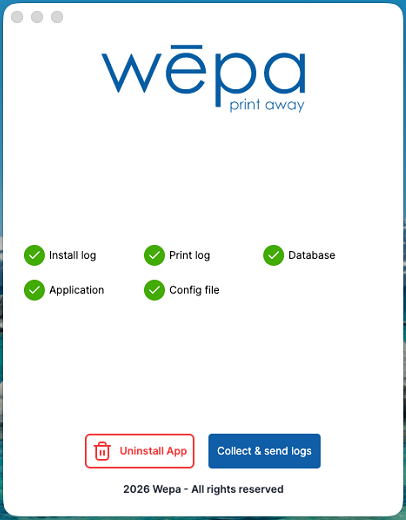
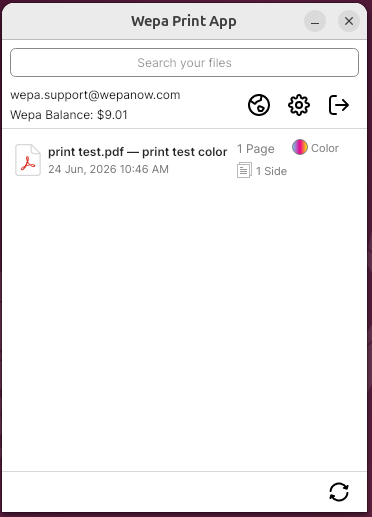
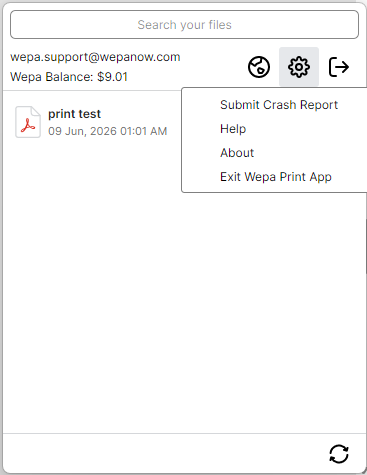
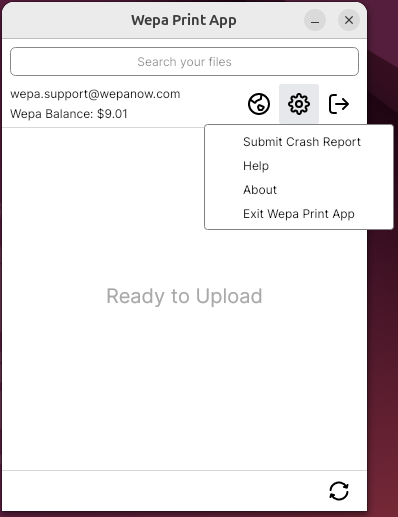
Open the Linux Print App settings view, then select Submit Crash Report to collect support logs.
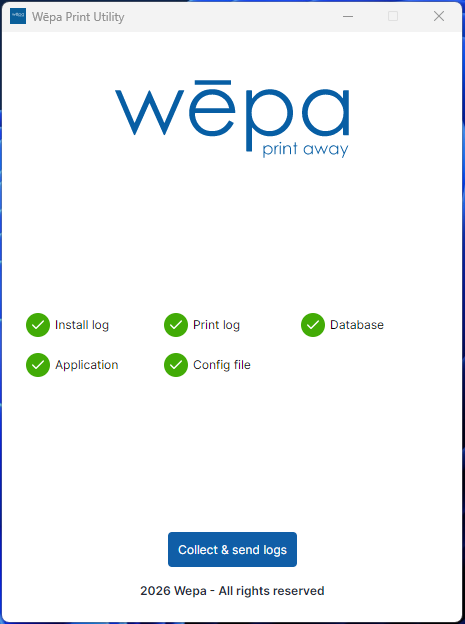
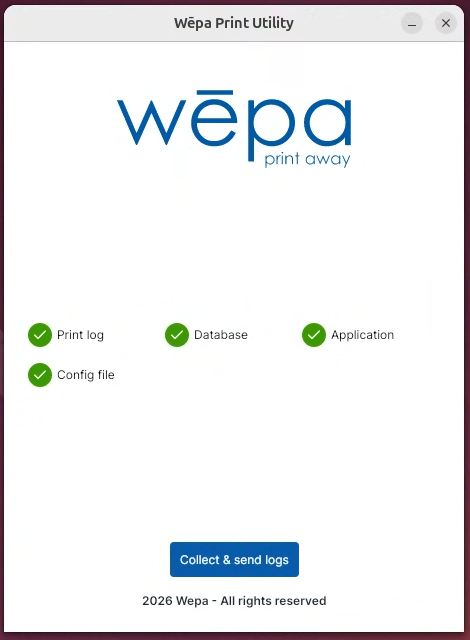
You can also open Wepa Print App Utility from the application menu. The utility launches the Linux crash reporter located at /usr/lib/wepa-lpa/CrashReporter.
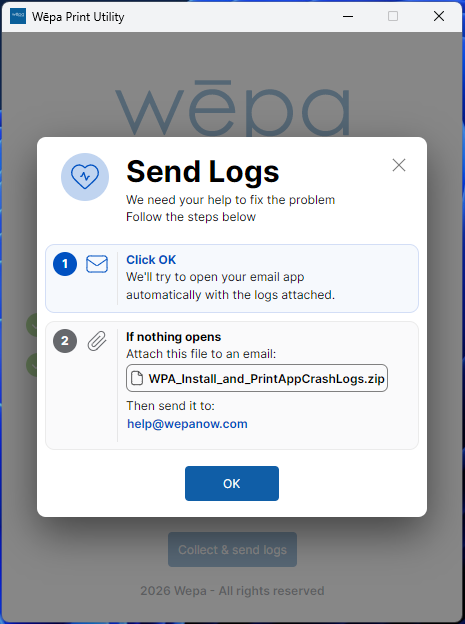
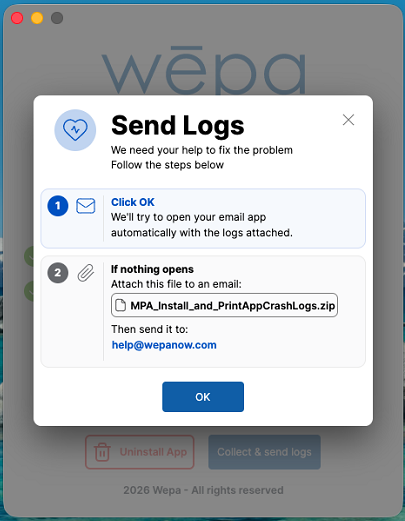
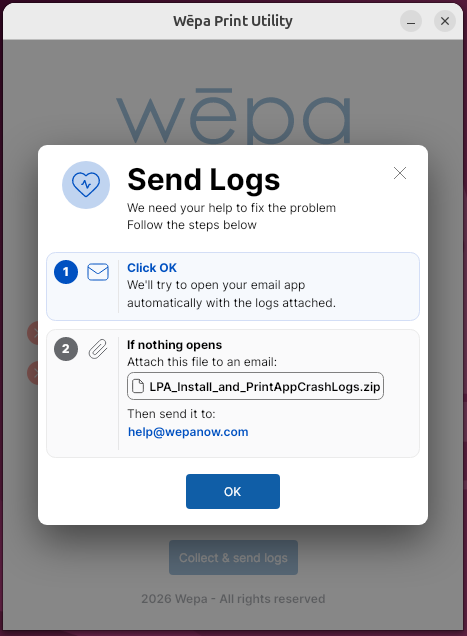
A Send Logs message will appear after the logs are collected. Select OK to open your email app automatically with the logs attached.
Manual Log Retrieval
If you cannot submit logs from the Linux Print App, manually retrieve the files below and send them to help@wepanow.com with a brief description of the issue.
| Log Type | Linux Location | What to Send |
|---|---|---|
| Print app logs | /var/log/com.wepa.printapp/ | Send PrintApp.log. If present, also send PrintApp.Secondary.log and any other recent files in this folder. |
| CUPS / PDF queue log | /var/log/com.wepa.printapp/wpapdfqueue_log | Send this file for print, CUPS, print-to-PDF, or file processing issues. |
| Crash logs | /var/log/com.wepa.printapp/ | Send any recent timestamped .txt files from this folder. Crash logs are created when unhandled exceptions occur. |
| Generated zip from utility | ~/Documents/LPA_Install_and_PrintAppCrashLogs.zip | This zip file is created after the log collection utility runs. Send this file if the utility opens the folder but does not open an email window. |
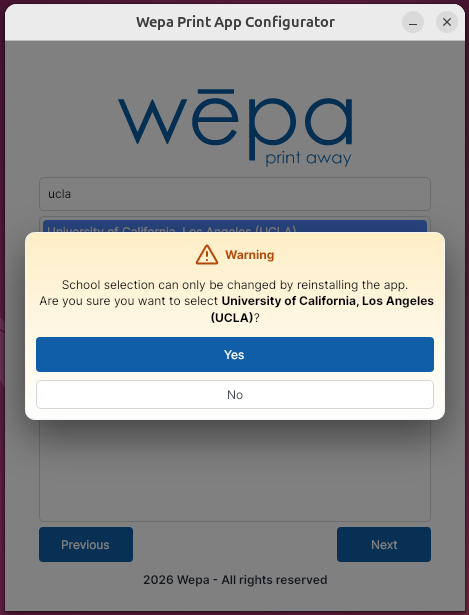
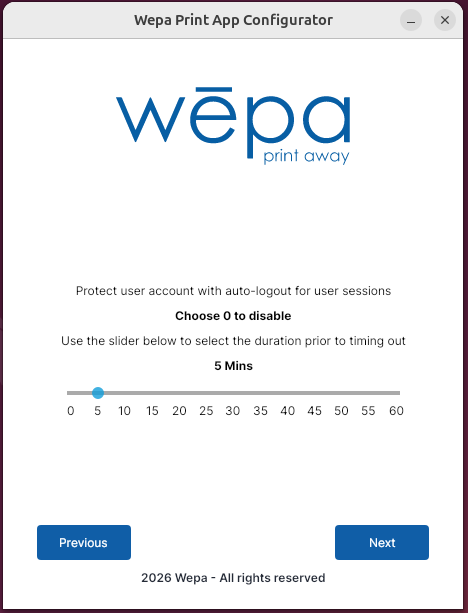
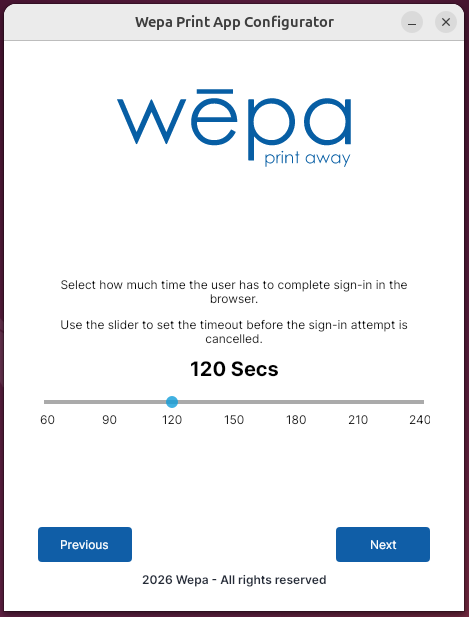
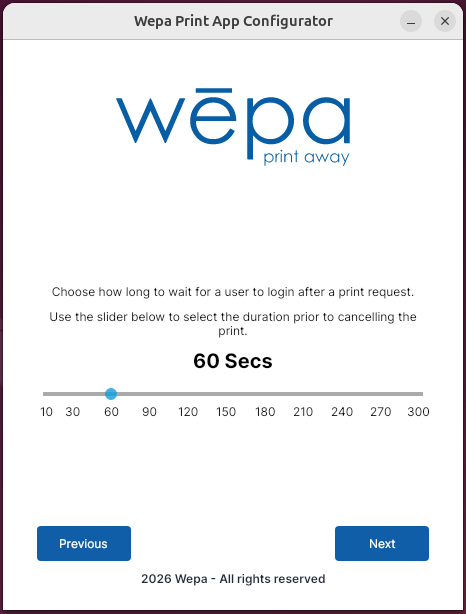
| Shared settings | /var/lib/Wepa/Settings.xml | Send this file if the issue appears related to lab configuration, school selection, login behavior, timeout settings, or guest printing. |
| User spool files | /var/spool/WepaQueue/<linux_username>/ | Send recent .json metadata files if support requests them. Replace <linux_username> with the Linux account that was printing. |
| CUPS logs | /var/log/cups/access_log* /var/log/cups/error_log* |
Send these files for printer queue, CUPS, or backend/filter issues. error_log is especially useful for Linux print failures. |
Open the Linux print app log folder
Open Terminal and list the Linux Print App log folder:
ls -la /var/log/com.wepa.printapp/
Attach PrintApp.log, wpapdfqueue_log, and any recent timestamped .txt crash files. If PrintApp.Secondary.log is present, attach that file as well.
Open the generated zip location
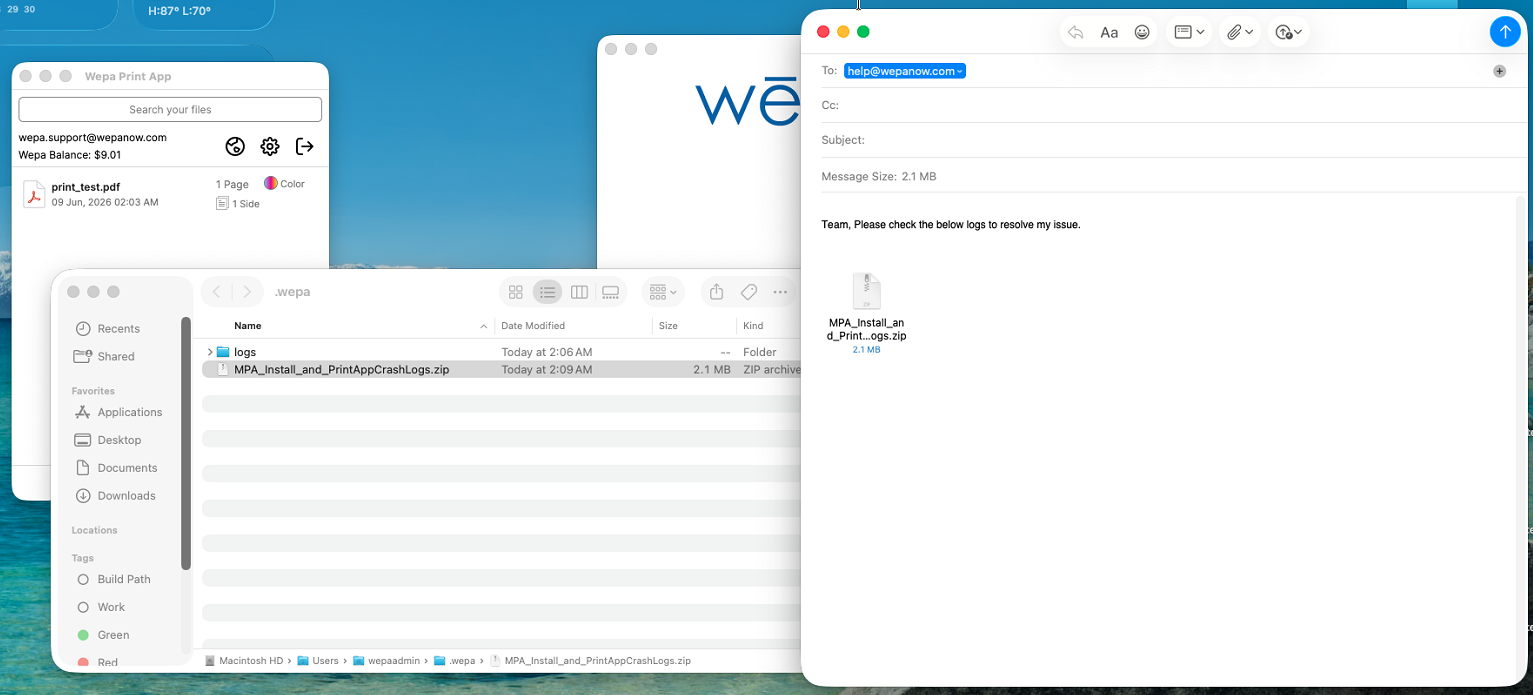
The generated zip file is created only after the log collection utility runs. If the utility opens a folder but does not open an email window, attach the zip file from your Documents folder:
~/Documents/LPA_Install_and_PrintAppCrashLogs.zip
Attach LPA_Install_and_PrintAppCrashLogs.zip to a new email and send it to help@wepanow.com with a brief description of the issue.
Optional Support Bundle
If wēpa support asks for a manual bundle, replace <linux_username> with the Linux account that was printing, then run:
sudo tar czf ~/wepa-lpa-logs-$(date +%Y%m%d).tar.gz \
  /var/log/com.wepa.printapp/ \
  /var/lib/Wepa/Settings.xml \
  /var/spool/WepaQueue/<linux_username>/ \
  /var/log/cups/access_log* \
  /var/log/cups/error_log* 2>/dev/null
Attach the generated wepa-lpa-logs-YYYYMMDD.tar.gz file to a new email and send it to help@wepanow.com.
Package Install Issues
Linux does not have a dedicated wēpa app-managed install log. If the issue is related to package installation, upgrade, or removal, check the package and system logs instead.
Confirm the package is installed
dpkg -l wepa-lpa
Review Debian package history
grep -i "wepa-lpa" /var/log/dpkg.log
Log Notes
- The Linux x64 and ARM64 Debian packages use the same log, config, and spool paths.
- The main Linux print app log file is PrintApp.log.
- If a second instance of the app is running, PrintApp.Secondary.log may also be present.
- wpapdfqueue_log is important for Linux print, CUPS, and print-to-PDF pipeline issues.
- Linux print app logs and timestamped crash .txt files are located in /var/log/com.wepa.printapp/.
- The generated crash report zip, LPA_Install_and_PrintAppCrashLogs.zip, is created in the user’s Documents folder after the log collection utility runs.
- There is no dedicated Linux app-managed install log. For package install issues, review dpkg or system logs.