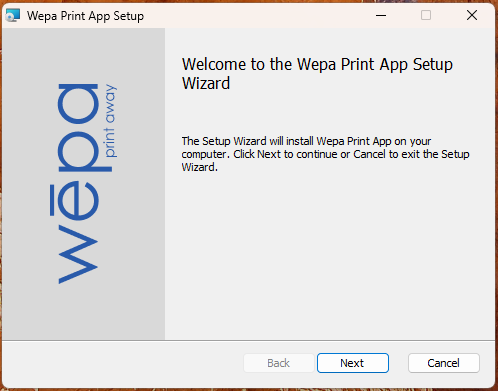
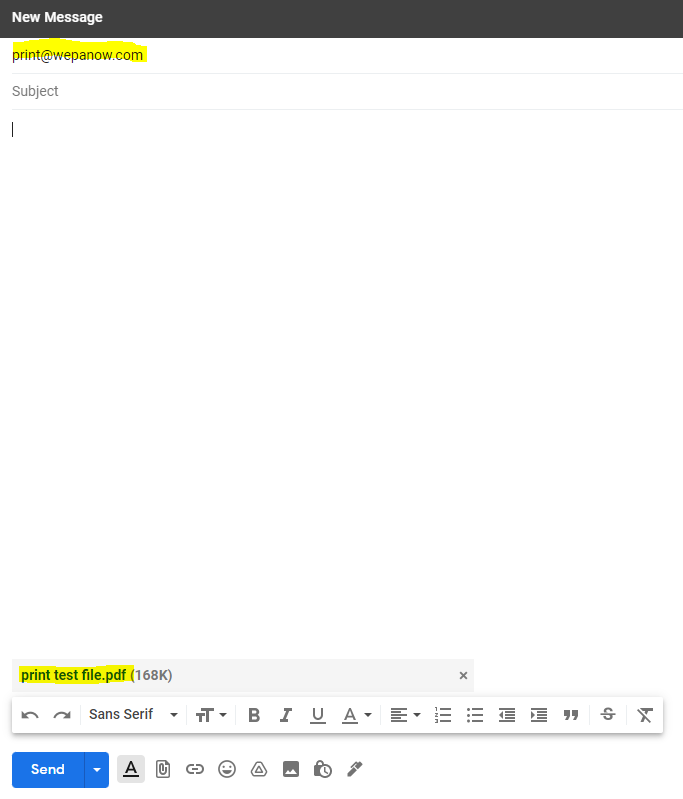
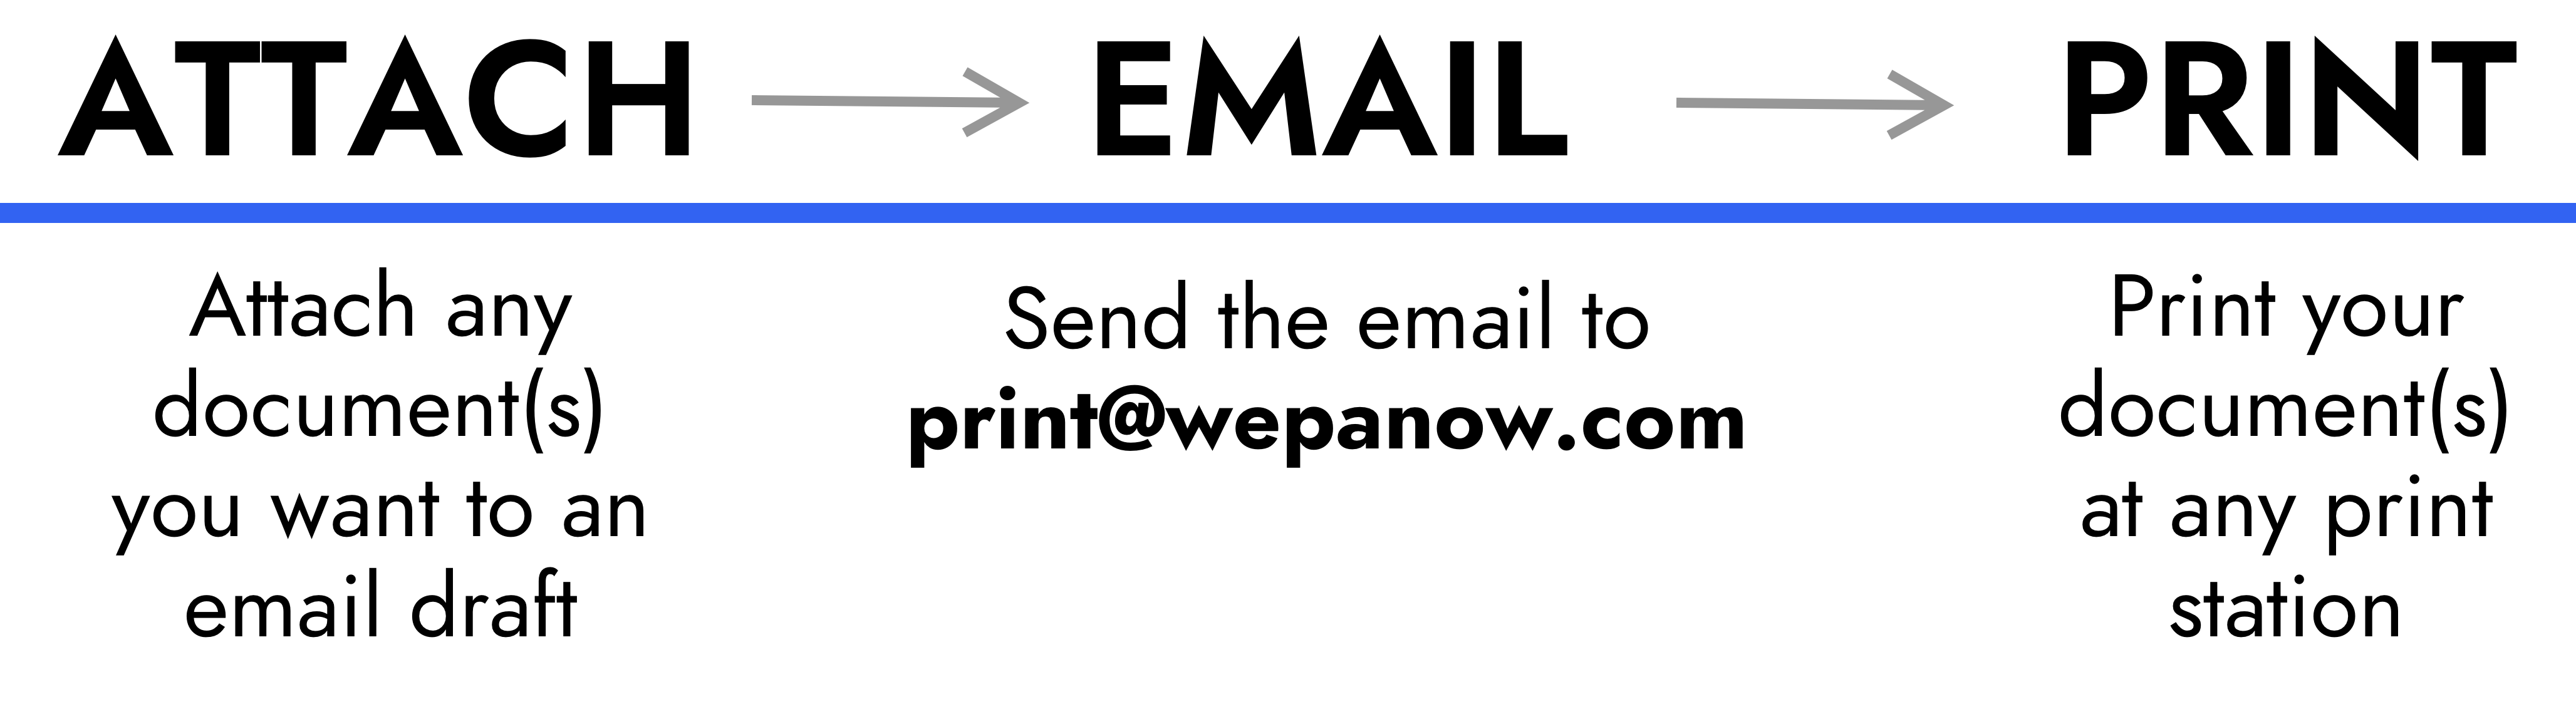
Upload documents using the Windows Print App, Mac Print App, or Linux Print App. Open your document in its default software, select File > Print, choose a wēpa printer, then select Print.
Open the Print Window
Open the document normally within its default software, such as Word, Excel, PowerPoint, Preview, Adobe Reader, or another supported application. Then select File > Print.
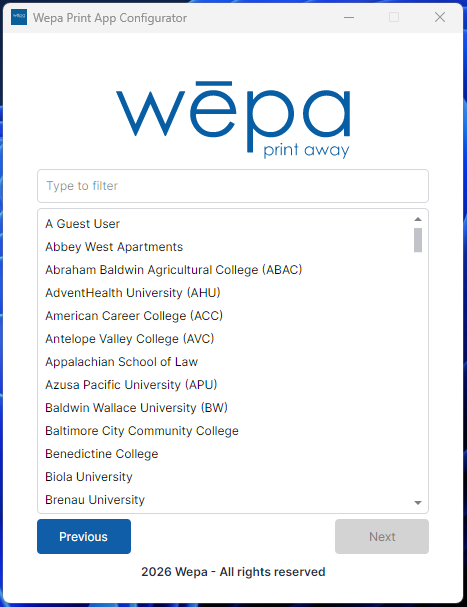
Select a wēpa Printer
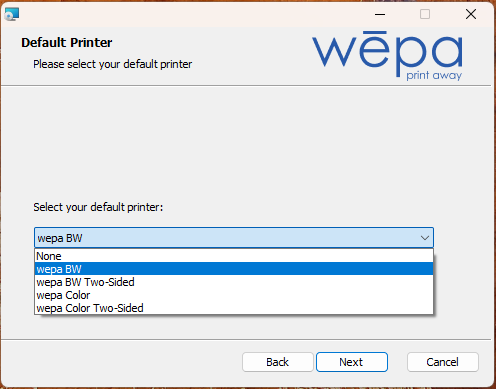
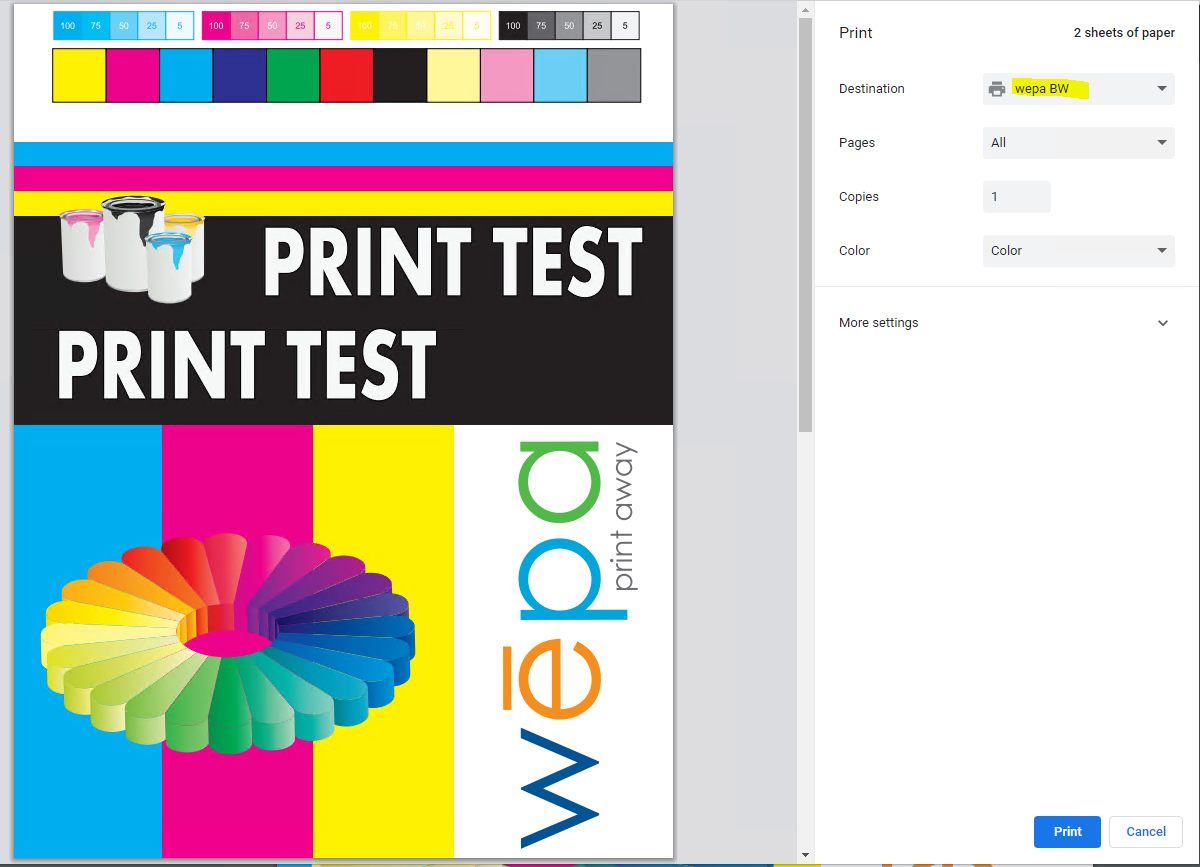
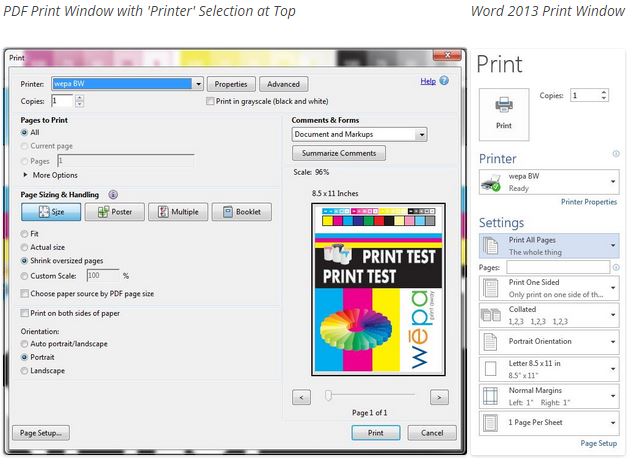
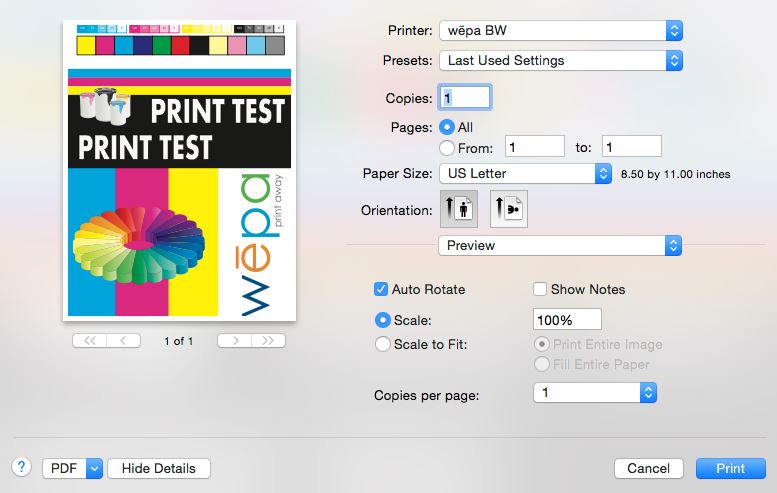
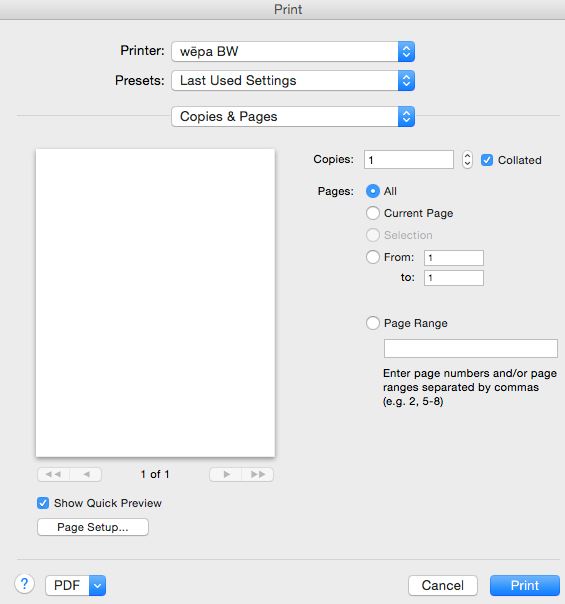
The print settings window will appear with a selected printer. Open the printer drop-down menu and choose one of the available wēpa printers.
Prints black and white on the front of each page only.
Prints black and white on the front and back of each page.
Prints color on the front of each page only.
Prints color on the front and back of each page.
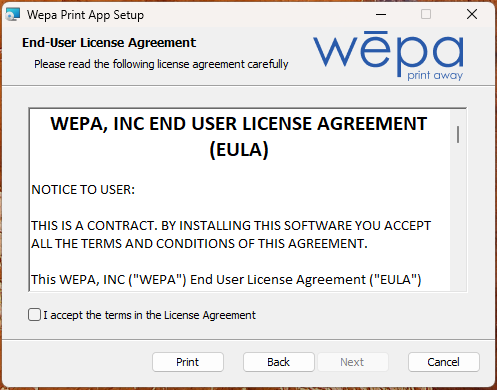
Windows Print App: Print Windows
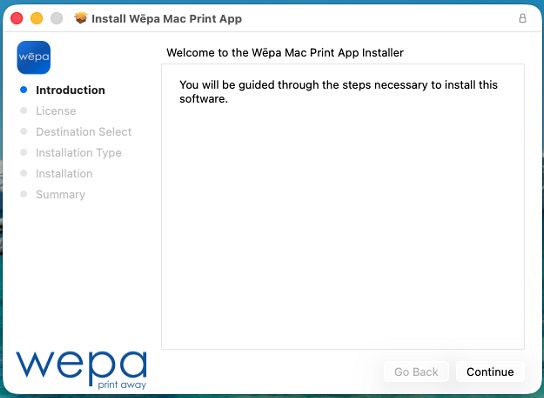
Mac Print App: Print Windows
PDF print window with printer selection at the top:
Word print window:
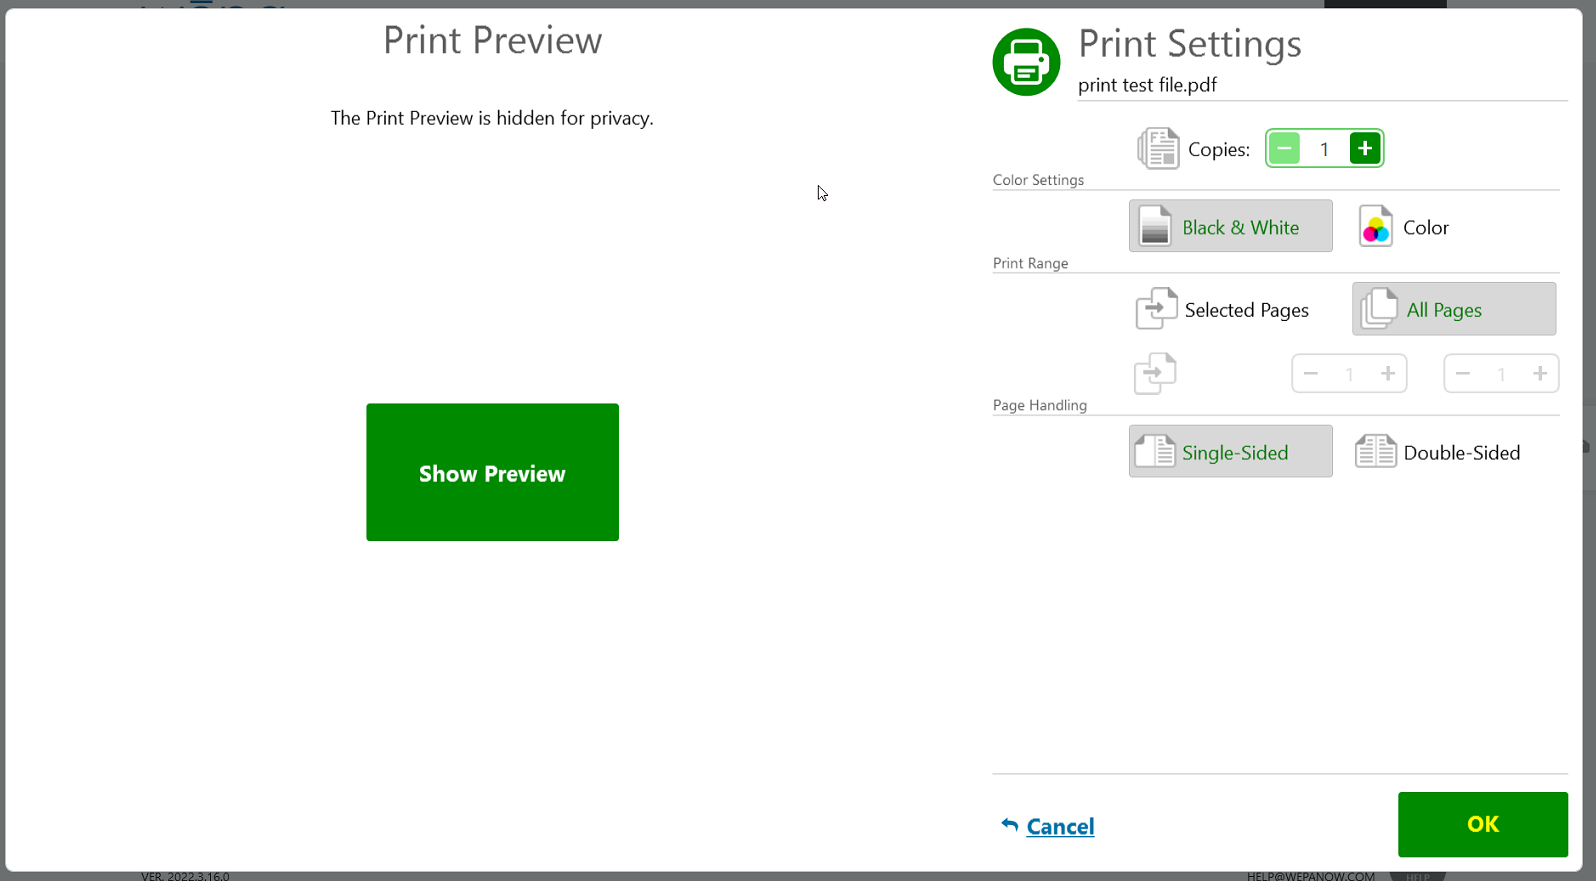
Format Settings
Choose any needed print format settings, such as printing multiple pages per sheet, page range, copies, or orientation. Review the print preview before uploading to confirm the document looks correct.
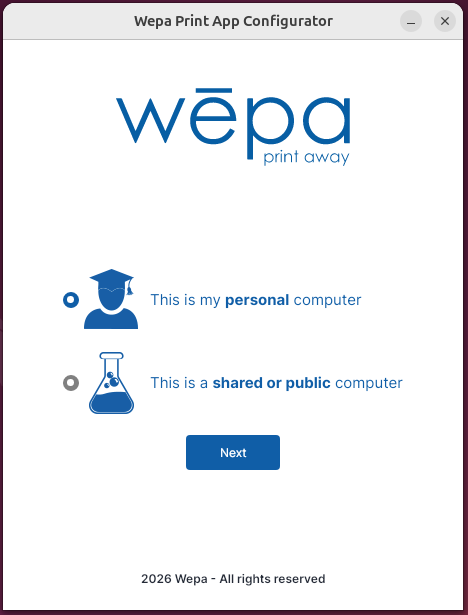
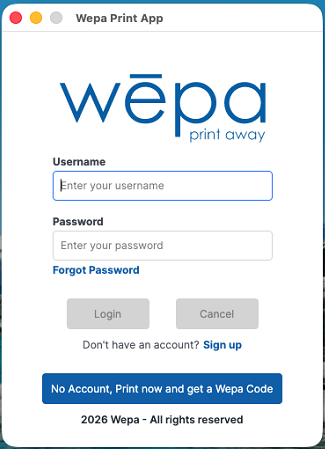
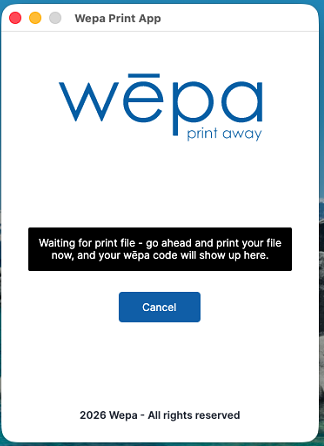
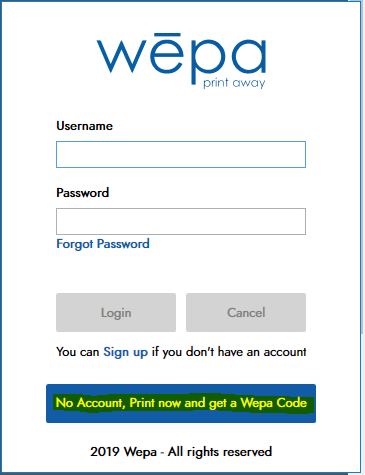
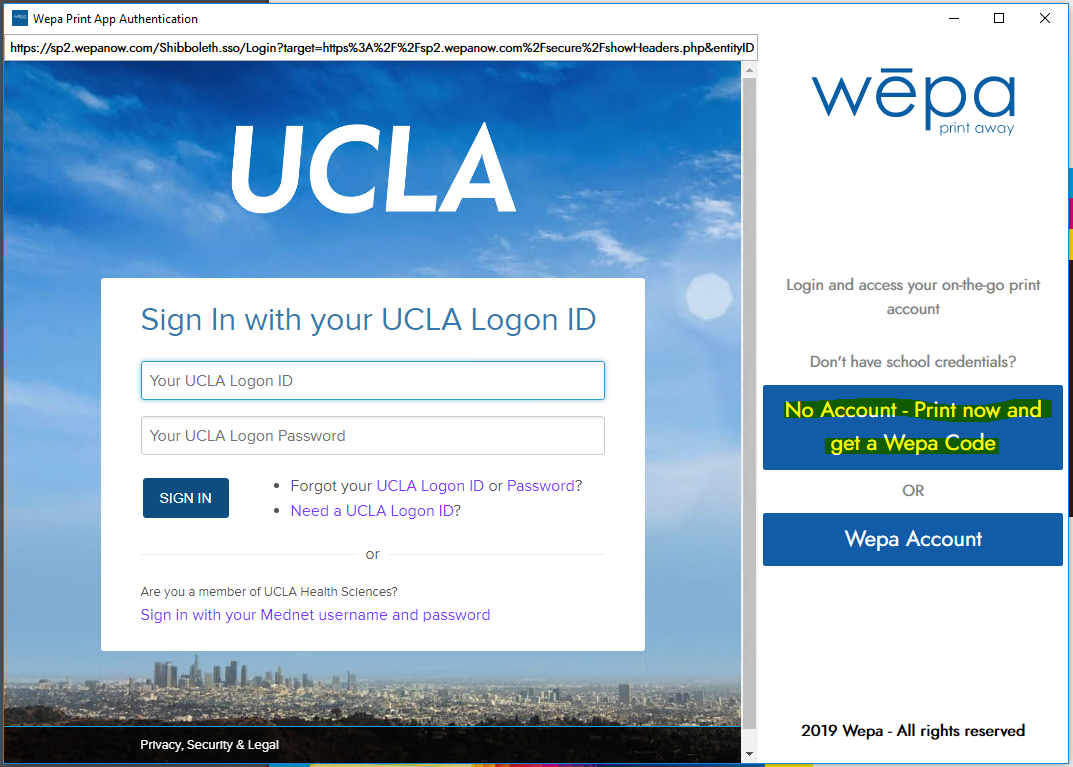
After choosing a wēpa printer and confirming the format settings, select Print to upload the document. If using a public or lab computer, enter your username and password when prompted to complete the upload.
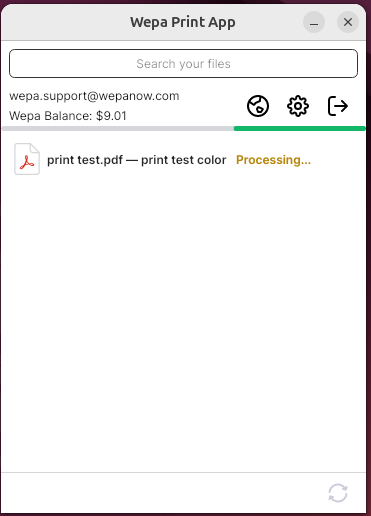
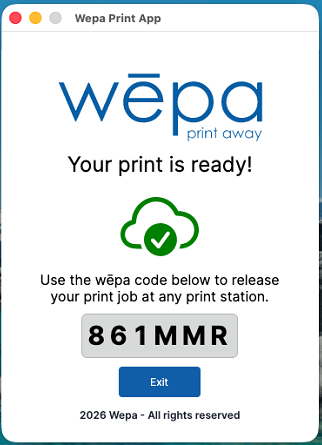
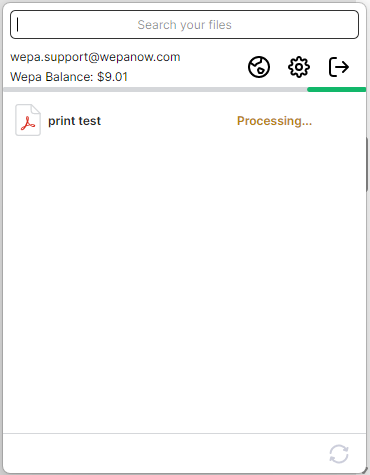
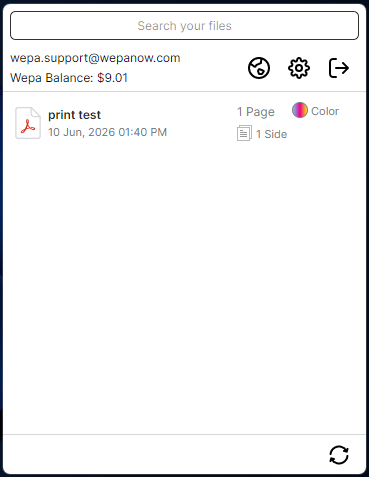
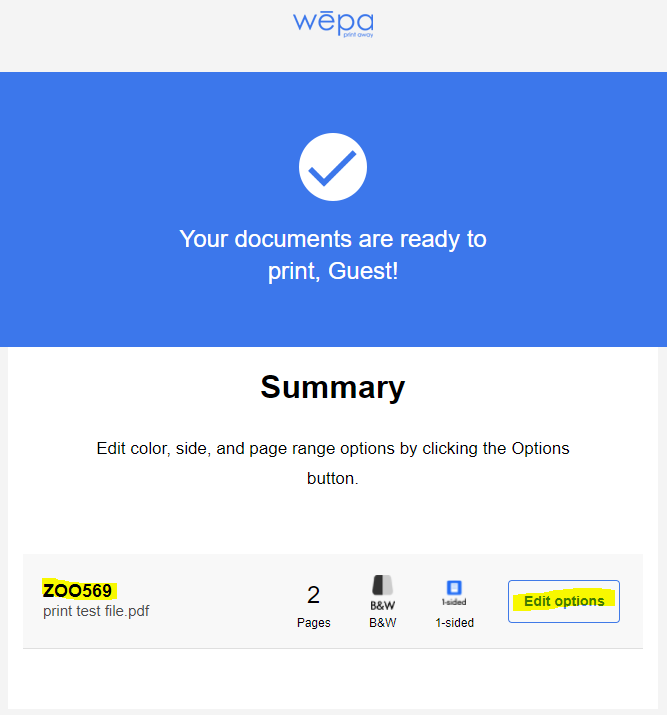
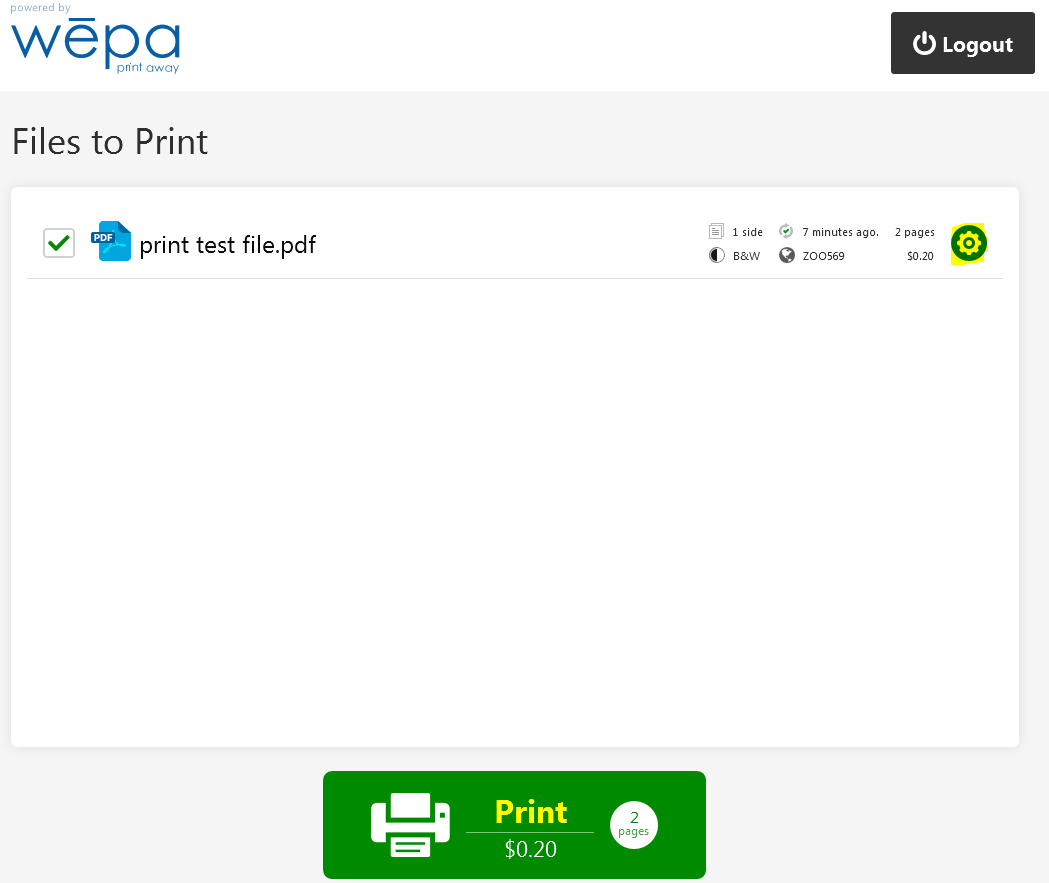
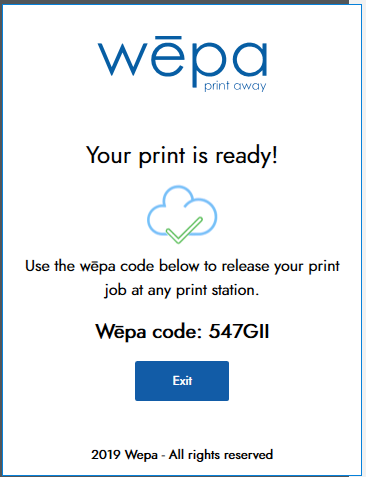
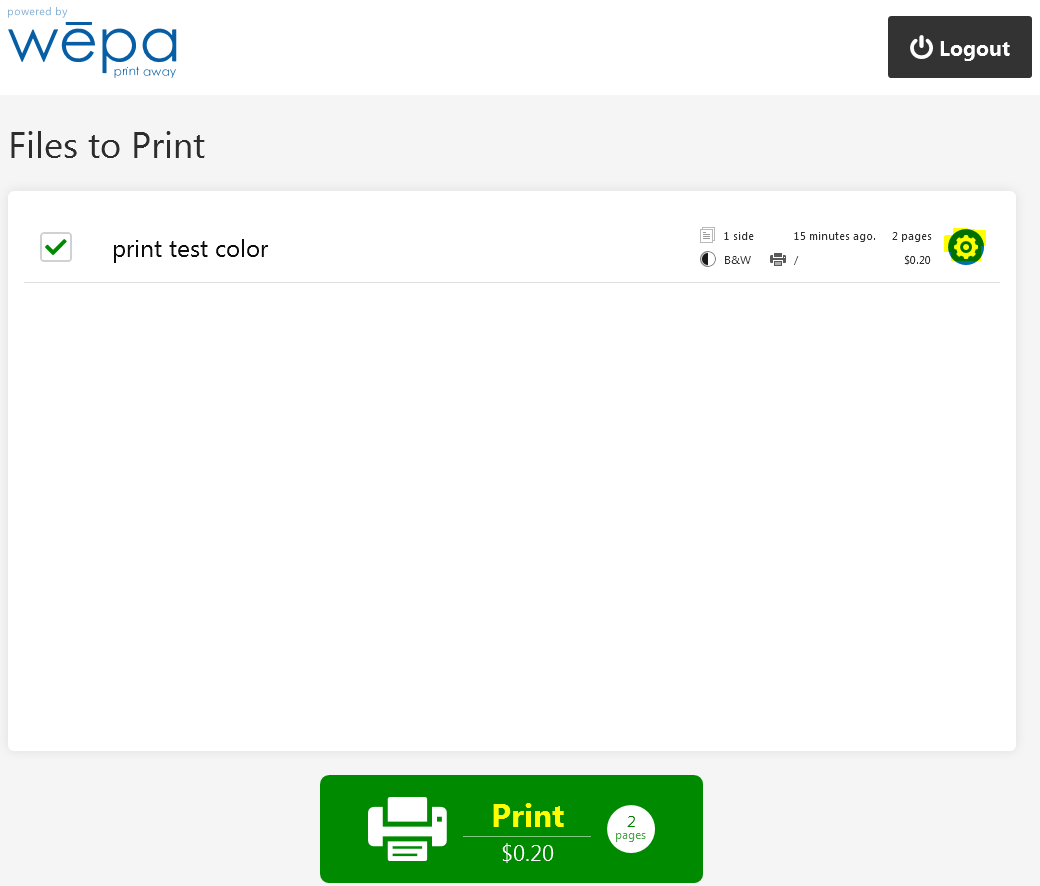
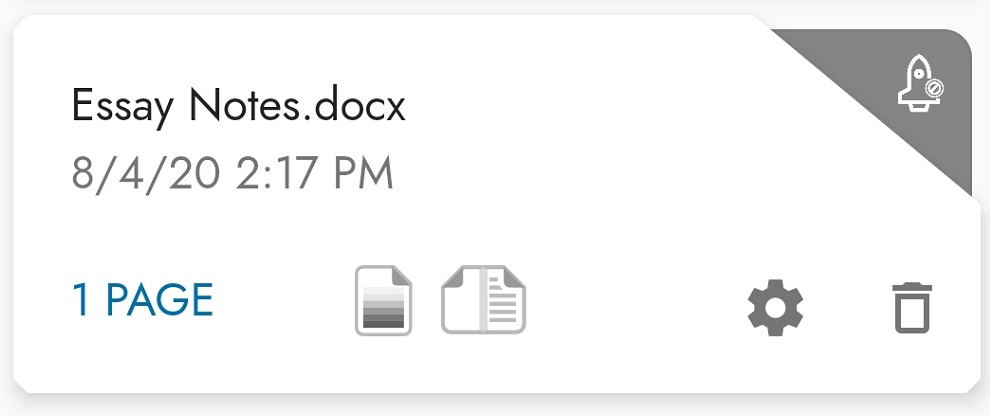
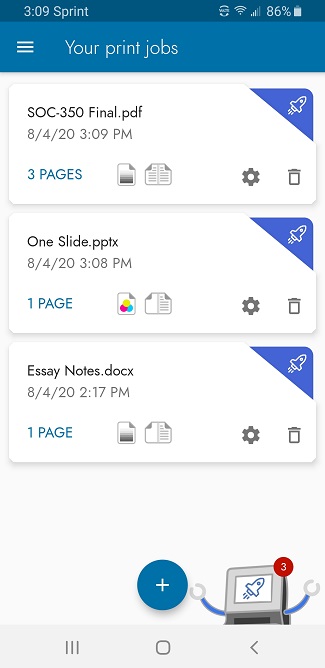
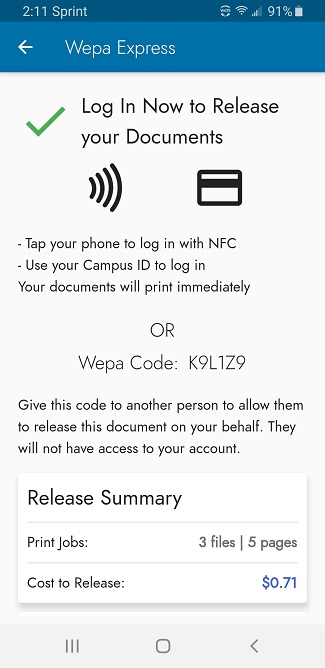
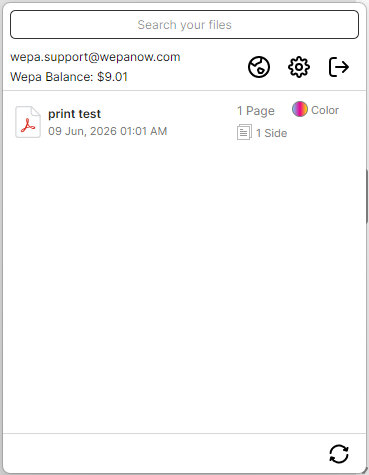
Documents Uploaded
Click the wēpa icon to see the full list of documents uploaded to the wēpa account. The wēpa icon for Windows is located in the lower-right system tray area. For Mac, it is located in the upper-right toolbar area.
Windows Print App – Documents Uploaded
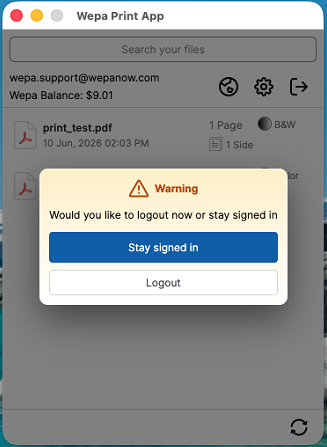
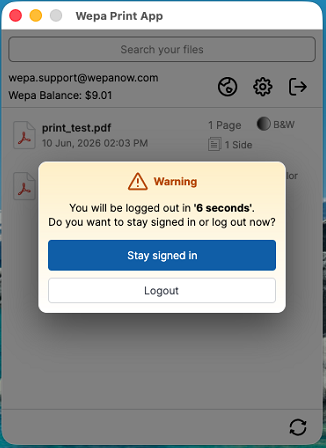
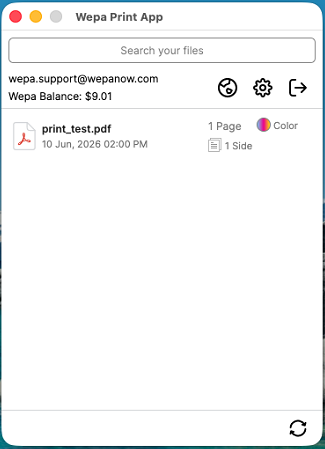
Mac Print App – Documents Uploaded
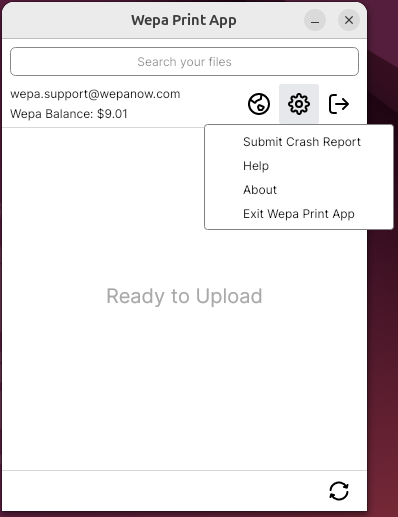
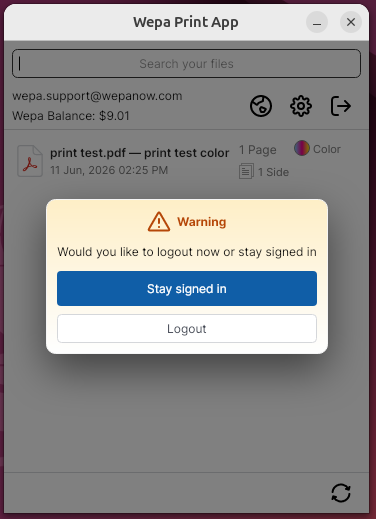
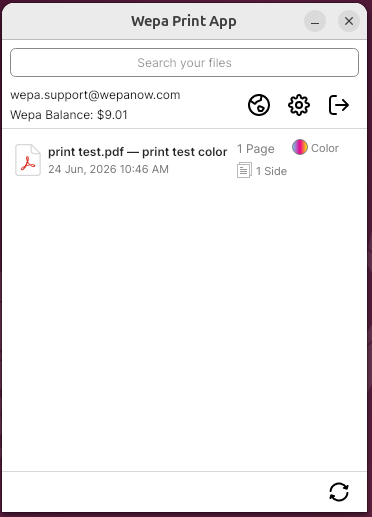
Linux Print App – Documents Uploaded
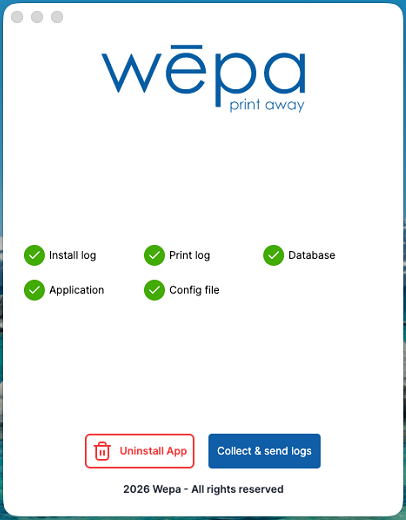
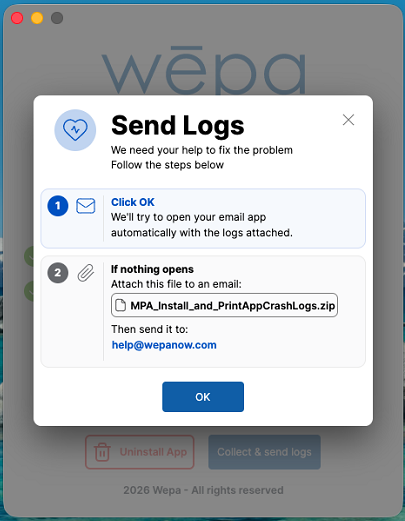
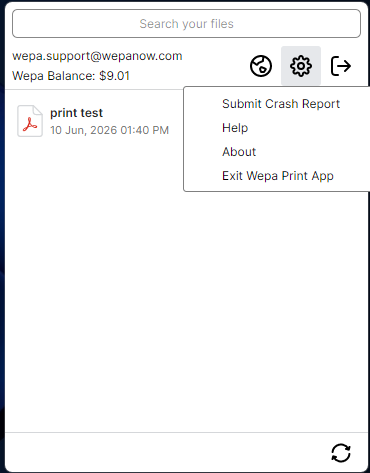
Submit Crash Report
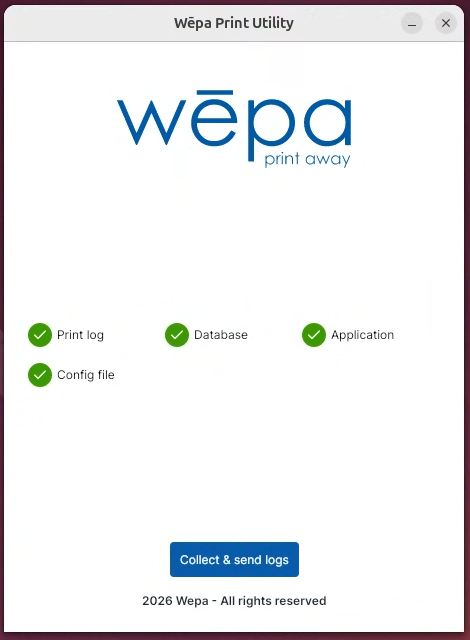
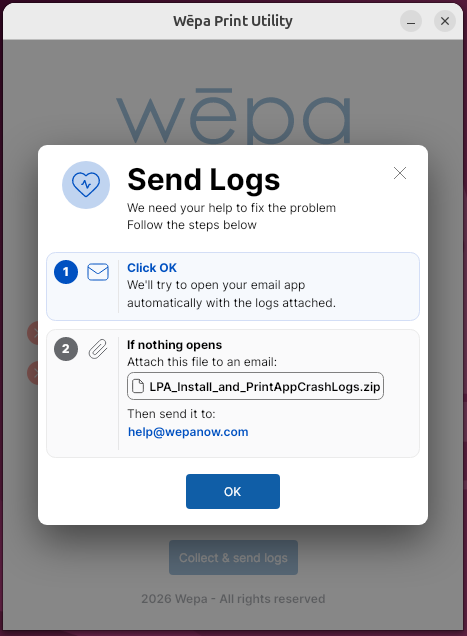
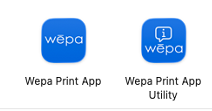
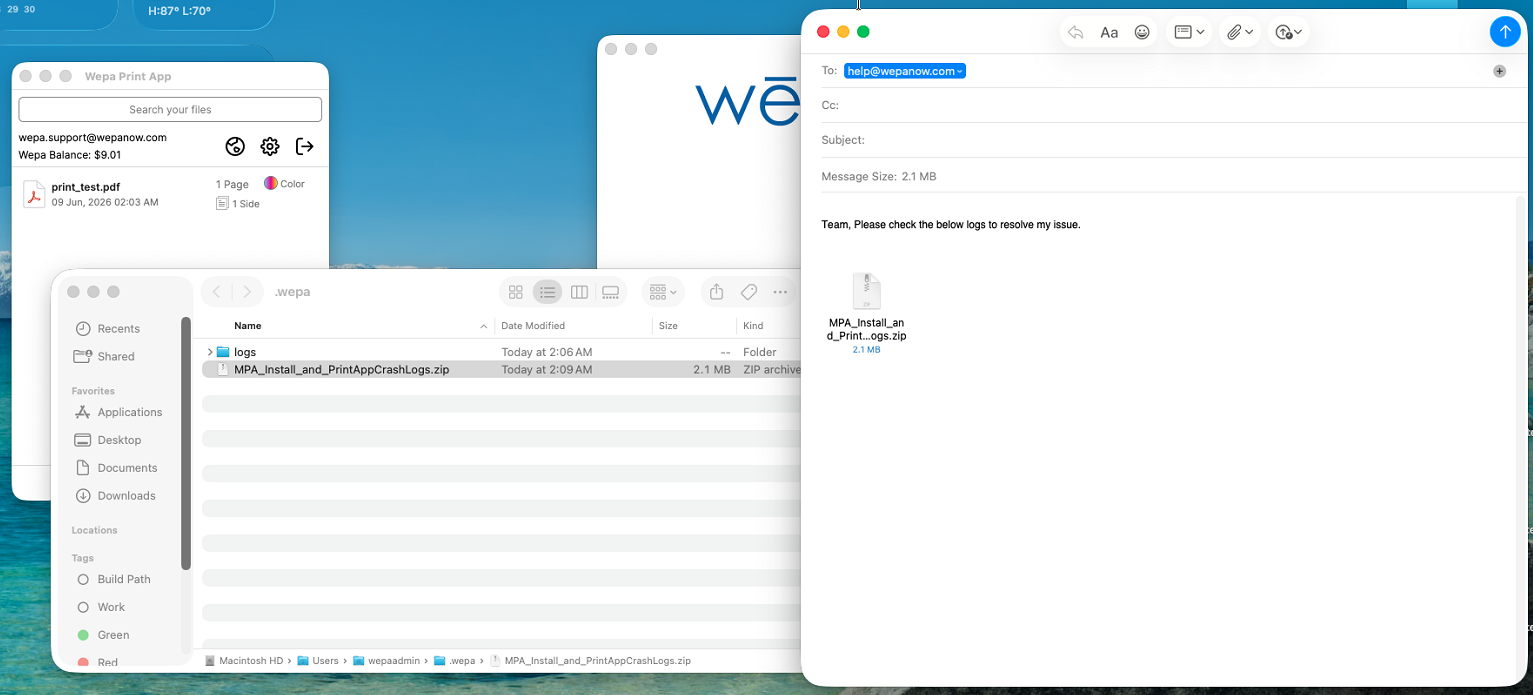
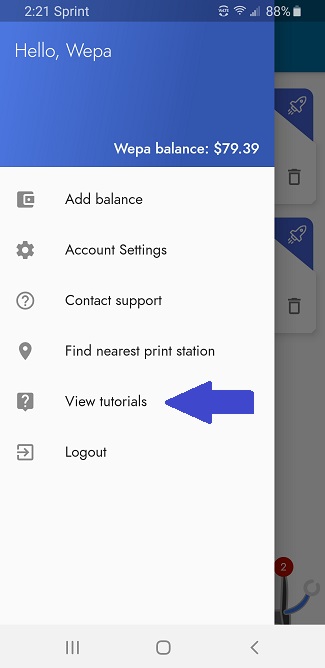
If you encounter issues uploading a document, select the print app icon, open settings, and choose Submit Crash Report. This helps wēpa support review logs and troubleshoot the issue.
Windows Print App – Submit Crash Report
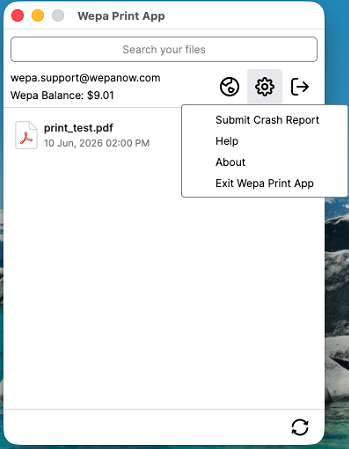
Mac Print App – Submit Crash Report
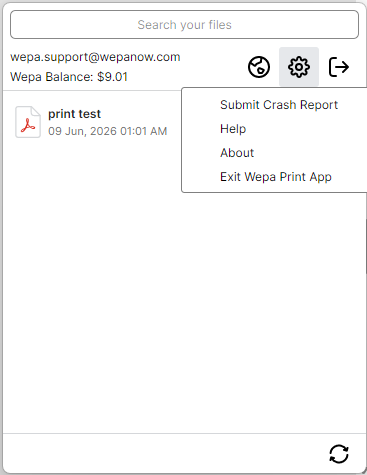
Linux Print App – Submit Crash Report