- The Windows Print App is the most flexible way to print from Windows.
- Print from any software by choosing File > Print and selecting a wēpa printer.
- Works with Windows computers and Surface Pro tablets.
- For Windows Surface RT or Windows Surface 2 tablets, please use Email-To-Print or Web Upload.
- If you want to deploy this to multiple public computers, click here.
Quick Start: Download the Windows Print App installer that matches your computer architecture and run it.
Download Windows Print App x64 Download Windows Print App x86
Website Download
Go to wepanow.com/software to download the latest version.
Latest Version: 2026.6.7
Installation
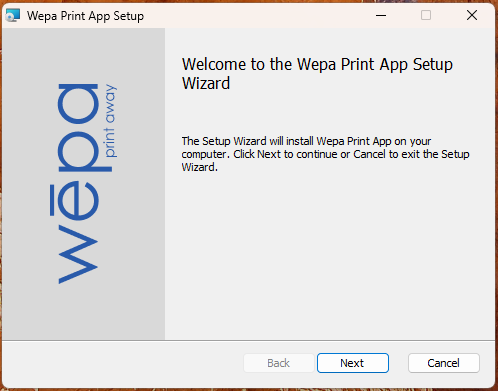
Open the .msi file to begin installation.
Press Next and proceed through the installation steps.
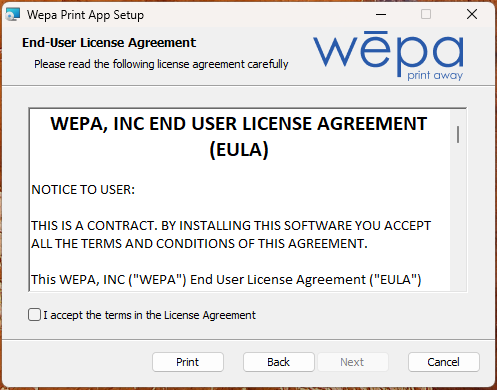
Accept the terms of the license agreement and choose Next.
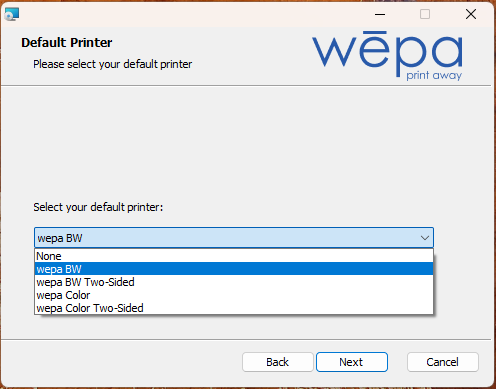
Select the default printer from the drop-down menu, then choose Install. Two-sided printers will print documents on two sides by default. Choose None to retain your current default printer.
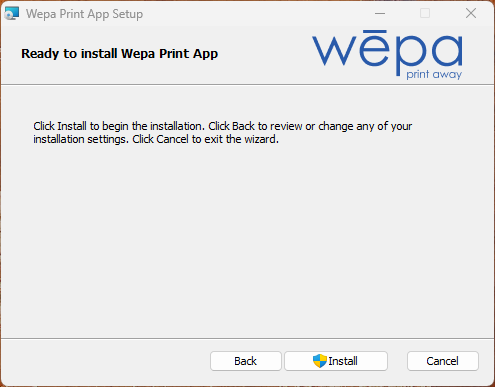
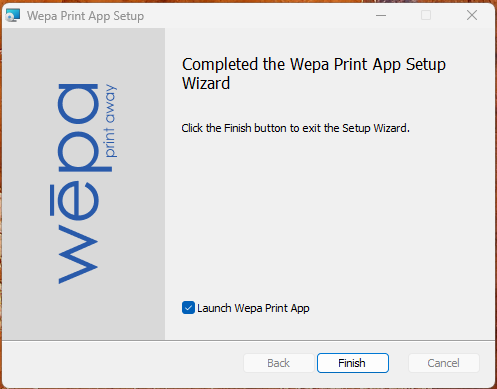
After the installation completes, press Finish to launch the application.
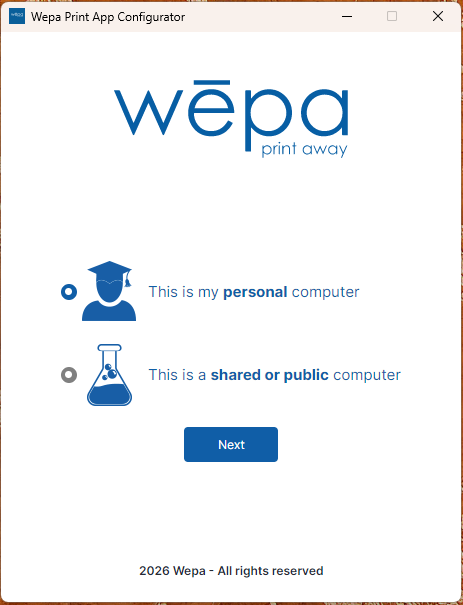
When the application launches, select personal if installing on a personal computer or shared or public if installing on a shared or public computer, such as a lab environment. Click Next to proceed.
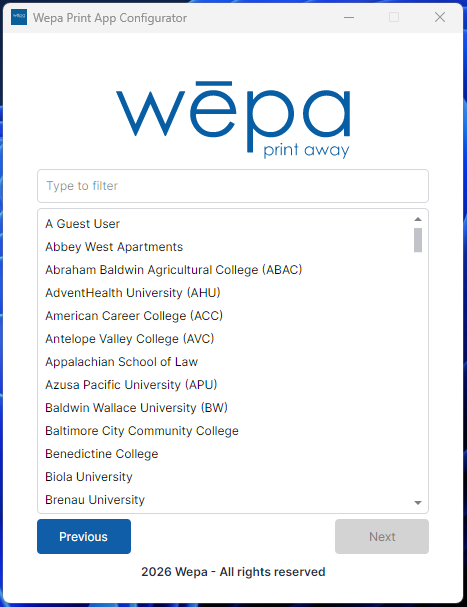
Select your school or institution. If you are not affiliated with one, choose A Guest User.
Lab / Public Options
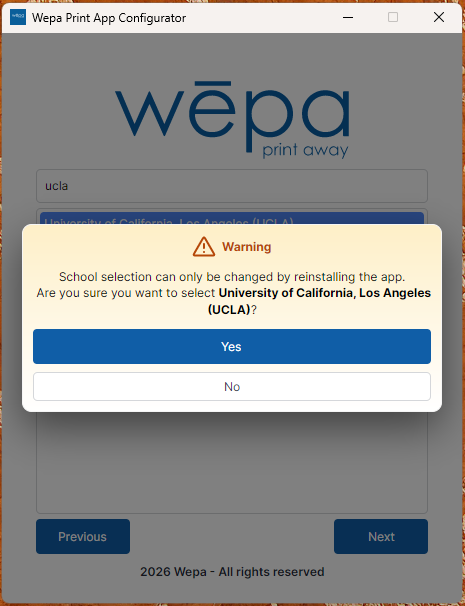
After you choose the school, you are notified that this choice can only be changed by uninstalling and reinstalling the application.
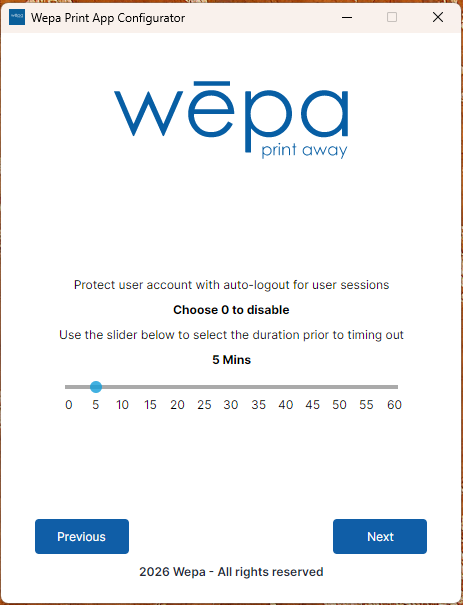
Set a session timeout value. Users will be automatically logged out of the application after a set amount of time. This choice is appropriate when users do not log in and out of Windows with their own account. Set the value to 0 to disable the session timeout.
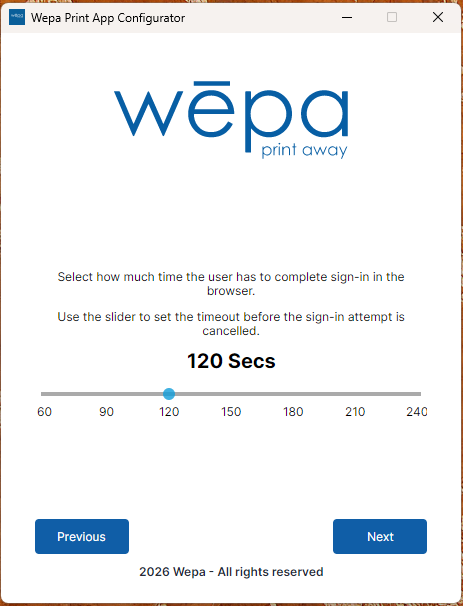
For Single Sign-On (SSO) schools, select the timeout for the user to complete sign-in in the browser.
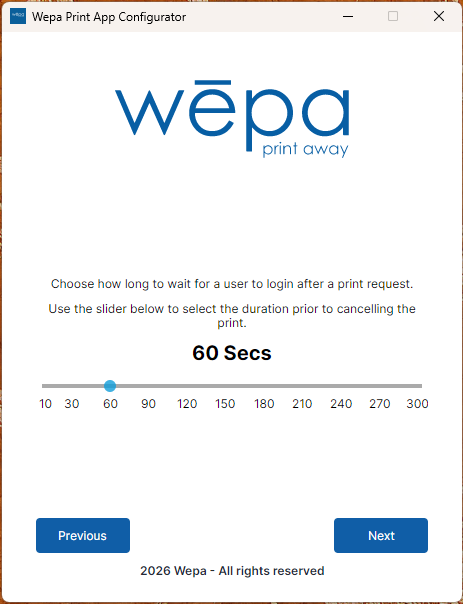
Choose how long to wait for a user to log in after a print request. If there is no login, the print attempt will be canceled after this amount of time.
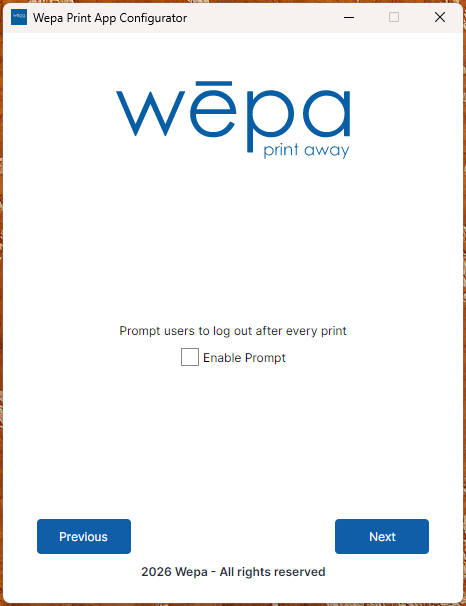
Choose whether to prompt users to log out after every print. This choice is appropriate when users do not log in and out of Windows with their own account.
Select whether the Guest Printing option is available. This option enables the guest printing button on the login screen. Visitors can use guest printing to upload a document and receive a six-character wēpa code that can be used at any print station.
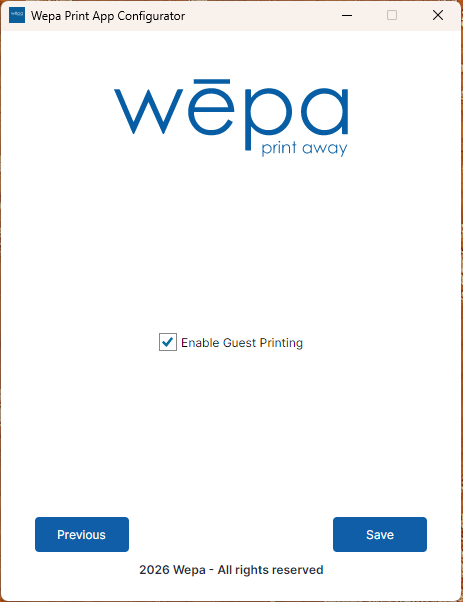
Choose Save to finish the setup process. The login screen may look different depending on your school’s sign-in configuration.
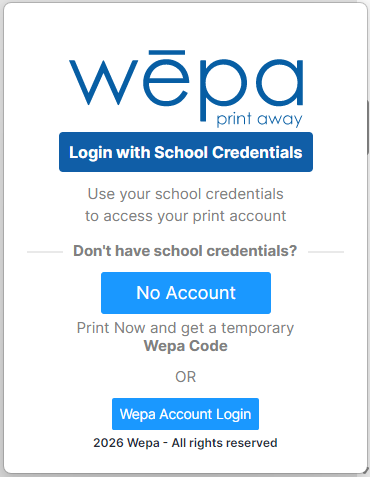
For Single Sign-On (SSO) schools, users will see a Login with School Credentials button. Selecting this option launches an external browser so users can sign in on the school’s login page. If Guest Printing is enabled, select No Account to print without signing in and receive a wēpa code.
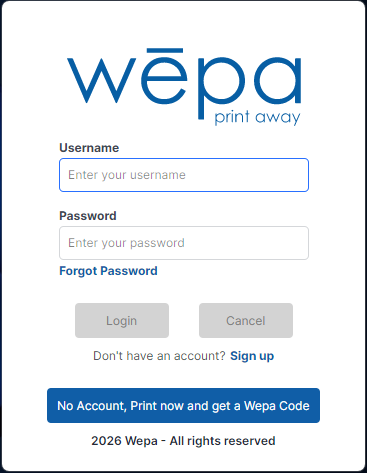
For non-SSO schools, the login screen will request a username and password. If Guest Printing is enabled, select No Account, Print now and get a Wepa Code to print without signing in.
How to Print
From any software that can print, choose File > Print, select a wēpa printer from the drop-down menu, and select Print. If you are not already signed in, a login prompt will appear.
The Print App window will launch and show that the print job is processing.
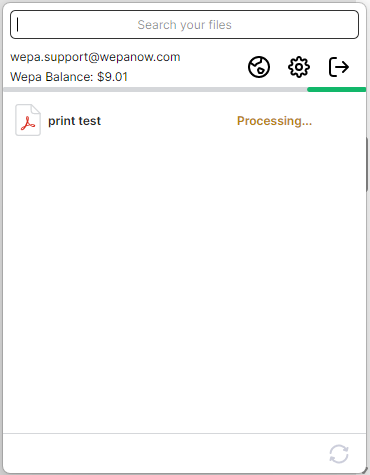
The print job will be shown as ready if the upload was successful. The app will show document details, such as the number of pages and selected print options.
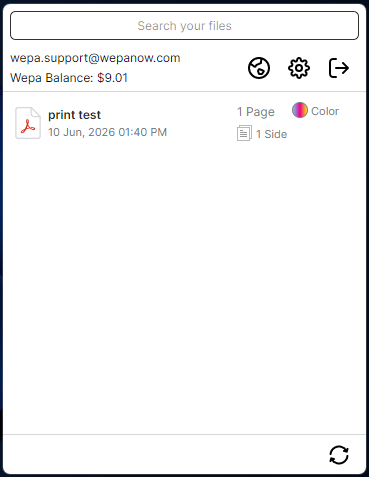
Select the wēpa icon to view uploaded files. Remember to log in at the print station to see all of your documents. You do not have to use release codes if you have an account.

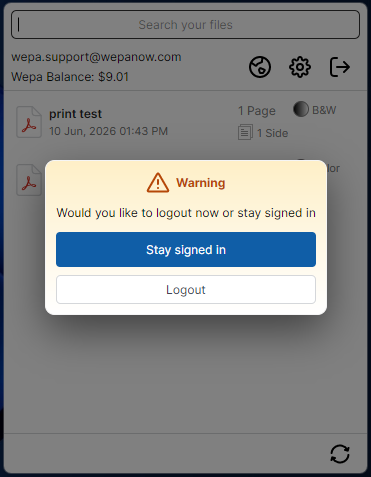
Lab Only: If prompt to logout after every print is enabled, a window will appear requesting the user to stay signed in or log out after each upload. Select Logout if finished printing to ensure the next user will not print to your wēpa account, or select Stay signed in if continuing to print.
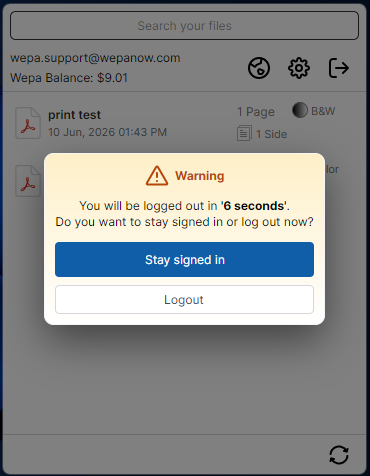
Lab Only: If the session timeout is enabled, a window will appear requesting the user to stay signed in or log out after the configured amount of time has passed without a print.
Settings and Troubleshooting
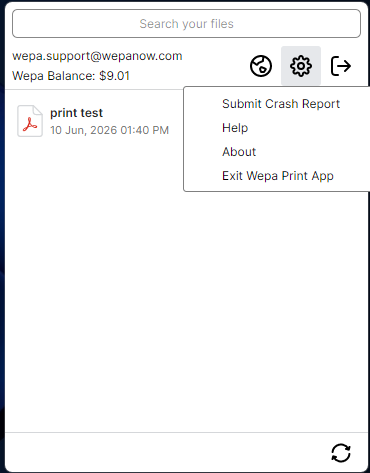
Select the settings option to view additional tools and support options. Click Submit Crash Report to email necessary logs to wēpa support at help@wepanow.com. If it is grayed out, select here to manually retrieve these logs.
Guest Printing
If the Guest Printing option was enabled during setup, select No Account, Print now and get a Wepa Code on the login screen to print without signing in.
Select the guest printing option, then send your print job to a wēpa printer.
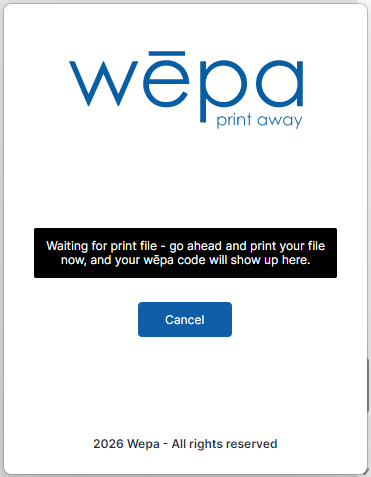
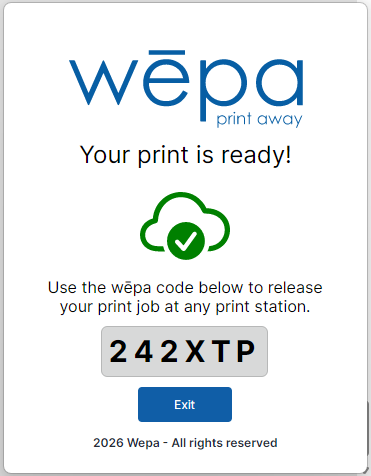
The Guest Printing window will process and upload the document, then provide a wēpa code to use at any print station.
Uninstalling
Open Control Panel, then click Programs. Scroll down and select wēpa Print App, then click Uninstall in the top menu bar.
Older Print App Versions
Some computers may still show an older version of the Windows Print App. The overall process is similar, but the screens may look different from the examples above.
If your screen does not match this article, update to the latest version from the wēpa software page, or contact your school’s IT support if you are using a lab or public computer.