

wēpa institutional customers can deploy the wēpa Print App for Windows to multiple public computers using standard deployment methods such as Group Policy, SCCM, Microsoft Intune, or silent command line installation.
Use the Wepa Lab Configurator to create an MST transform file that defines the desired school, login, timeout, guest printing, and printer configuration options.
- Install the Wepa Lab Configurator.
- Use the Wepa Lab Configurator to create one or more MST files for your desired configuration.
- Deploy the MSI using the generated MST file.
Version and Requirements
Windows Print App Latest Version: 2026.7.10
Download Windows Print App x64
If you are using a version below 2026.7.10, we recommend updating to our latest version.
Change Log
v.2026.7.10: New Universal Print App released, using a shared wēpa Print App codebase across Windows, macOS, and Linux. Improvements include:
- Updated user interface: New modern design and style.
- Color-coded queue icons: Print jobs in the queue use color-coded icons to indicate file type.
- Standard Windows directories: Installs in standard Windows directories for seamless compatibility. For example, the main app is installed in Program Files.
- Multi-user Windows environment support: Improved support for shared computers and virtual desktop environments where multiple Windows users may use the same machine. User-specific app data is handled per Windows user, while shared installation files are stored in standard machine-wide Windows locations.
- Configurable SSO timeout: The timeout for Single Sign-On browser login can be configured during setup.
Install the Wepa Lab Configurator
Download and install the Wepa Lab Configurator on the administrator computer that will be used to create the MST files.
Download Wepa Lab Configurator for Windows
Open the Wepa Lab Configurator
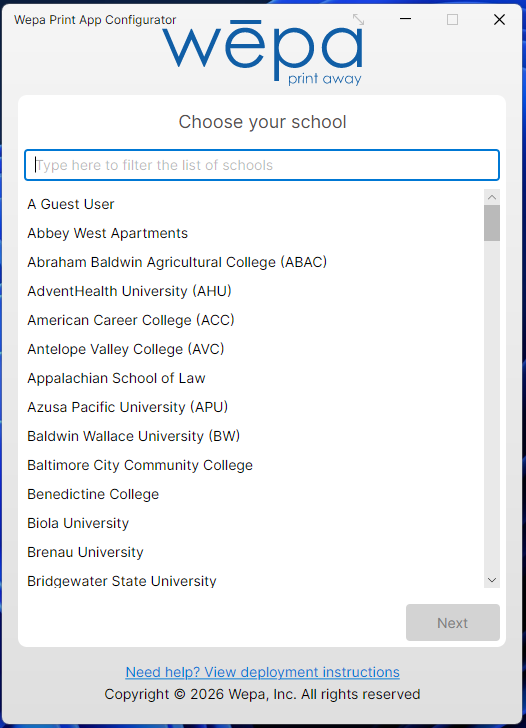
Launch the Wepa Lab Configurator and choose your school or institution. Use the search box to narrow the list.
Create MST Files
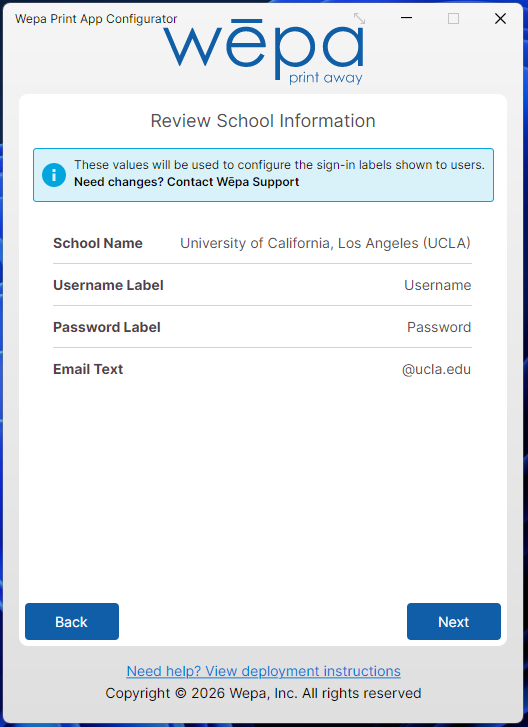
Review retrieved school configuration
The Wepa Lab Configurator retrieves the necessary configuration items for your institution. Contact your wēpa Project Manager or help@wepanow.com if any of these values need to change.
Configure Windows username / Active Directory login
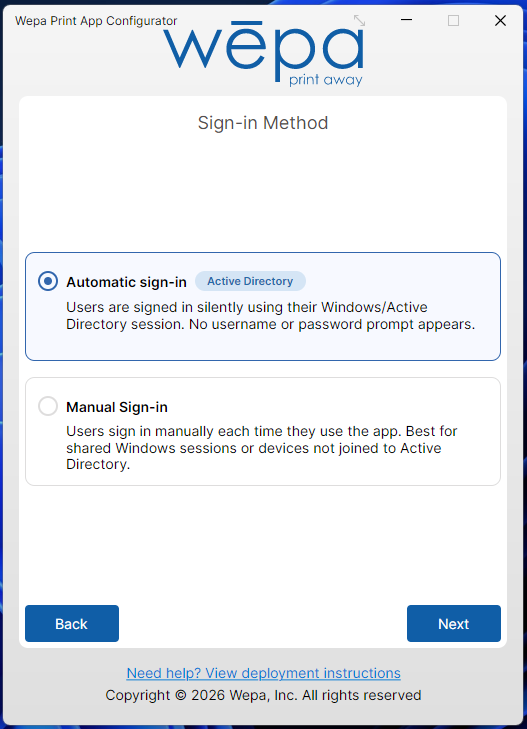
If your school has approved Active Directory login, this screen lets you choose whether users are signed in automatically with their Windows / Active Directory session or prompted to sign in manually.
Select Manual Sign-in to configure the additional lab settings shown in the next steps. If Active Directory login is not available for your school, manual sign-in is selected automatically and the lab settings configuration appears next.
If Automatic sign-in is selected, the default printer selection appears next. The additional lab sign-in settings are skipped because Active Directory login removes the need for those manual sign-in options.
Configure manual sign-in timeout settings
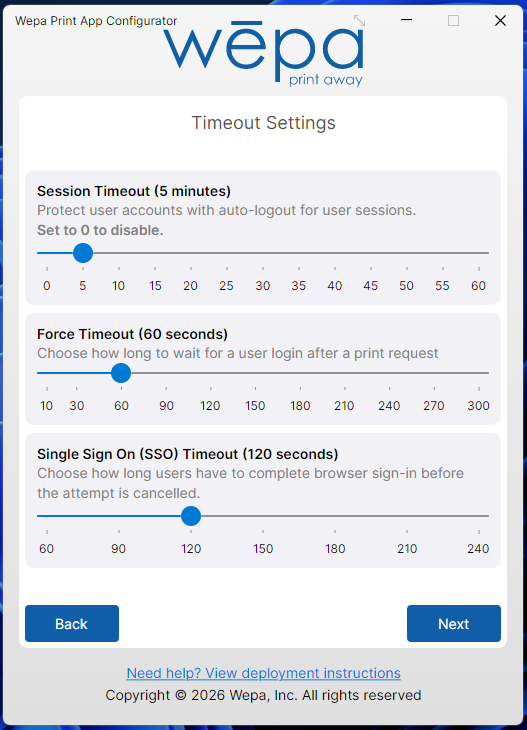
Configure timeout settings for manual sign-in. The Session Timeout controls when users are prompted to log out or stay signed in. Set the Session Timeout to 0 to disable it when users log in and out of Windows with their own accounts.
The Force Timeout controls how long the Print App waits for a user to log in or choose guest printing after a print request starts.
If your school is set up with Single Sign-On, a configurable Single Sign On (SSO) Timeout is available as well.
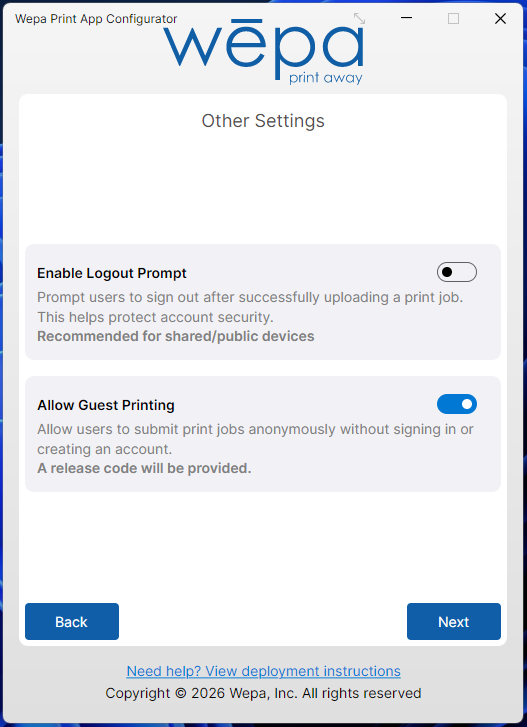
Configure other manual sign-in options
Configure the remaining manual sign-in options for shared or public computers. Enable Logout Prompt prompts users to sign out after successfully uploading a print job, which helps protect account security on shared devices.
Allow Guest Printing lets users submit print jobs without signing in or creating an account. A release code will be provided so the user can release the document at a print station.
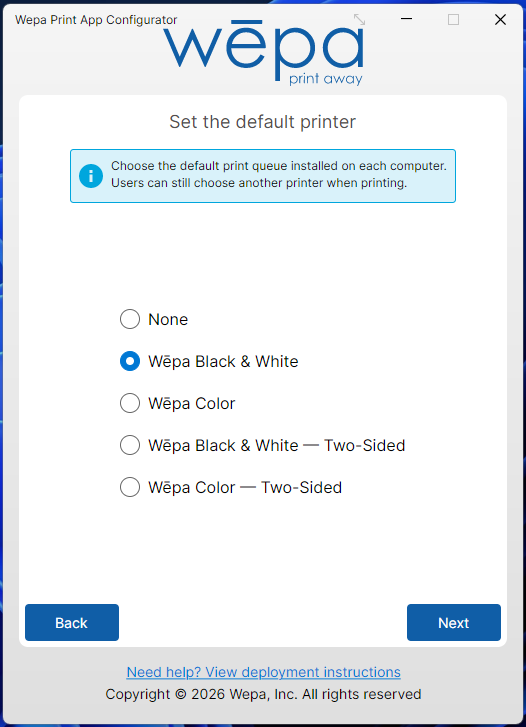
Configure default printer
Choose which wēpa printer will be selected by default in the application. Users can still change to a different wēpa printer when printing. For Default Printer, select None to leave the existing default printer unchanged.
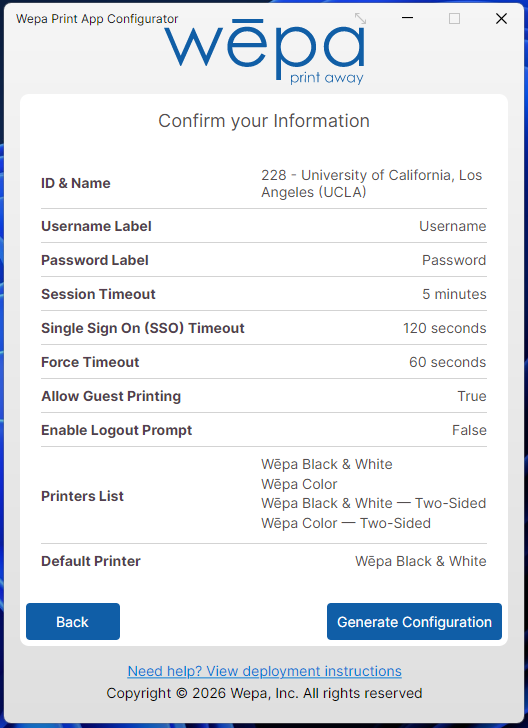
Confirm selected options
Review the selected configuration options. If the options are correct, select Generate Configuration. If changes are needed, select Back and update the configuration.
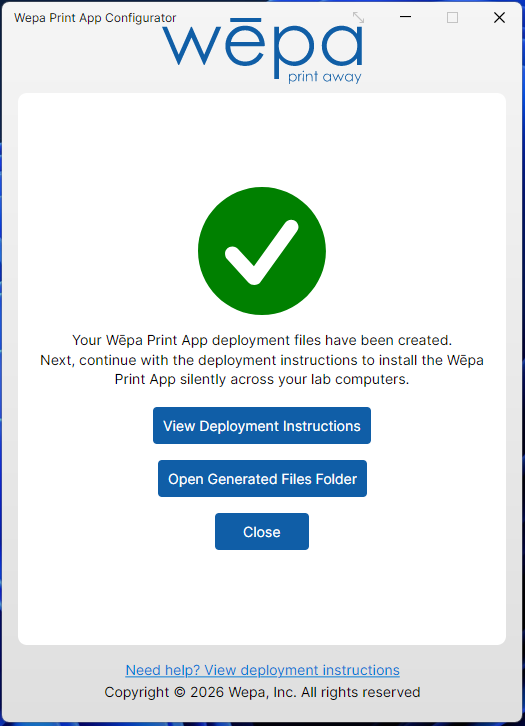
Review the final generated view
After the MST file is generated, the Wepa Lab Configurator will show the final result.
- View Deployment Instructions opens this support page with deployment instructions.
- Open Generated Files Folder opens the folder where the generated MST file is located.
- Close closes the Wepa Lab Configurator.
Generated Files
Open the generated files folder
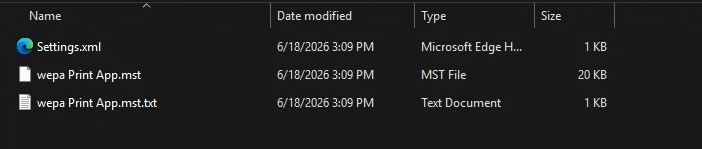
When the MST file is generated, Windows Explorer opens to the generated files location. The MST file is stored inside the folder named for the selected school.
The PrintApp.log file shown in this location is created by the Wepa Lab Configurator for support and troubleshooting purposes.

Review the school folder with MST files
Use the generated MST file in the deployment command or deployment tool in the next steps.
The .txt file provides an easy way to review the settings included in the MST file. The Settings.xml file is an example of the configuration that will be applied during deployment.
For existing deployments using the new wēpa Print App v.2026.6.7 or newer, the Settings.xml file can also be copied to C:\ProgramData\Wepa to replace the existing Settings.xml file. The wēpa Print App must be closed and restarted before it will load the new Settings.xml file.
How to Deploy the Application
You can deploy the wēpa Print App from an administrator command line with this command:
msiexec /i "wepa Print App.msi" /qn TRANSFORMS="wepa Print App.mst"
You can also deploy the MSI and MST using other methods that work with MST files, such as Group Policy, SCCM, or Microsoft Intune.
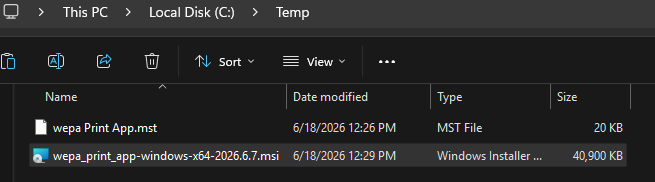
Example: MSI build folder with MST file
Place the MSI and generated MST file in the same folder before running the deployment command. In this example, both files are located in the C:\Temp folder.
Example: Administrator command line deployment
Run the deployment command from an administrator command prompt, or use the equivalent command in your deployment system.
The optional /L*v “C:\Temp\upa-install.log” parameter creates a detailed installation log file. This can be helpful for support and troubleshooting if the silent installation does not complete as expected.

How to Silently Uninstall the Application
You can silently remove the wēpa Print App from an administrator command line with this command:
msiexec /i "wepa Print App.msi" /qn REMOVE=ALL