The following support post shows how to use the wepa scanners and upload your scans to a cloud source or print directly at the print station:
Wepa provides a flatbed scanner option (the duplex scanner is no longer available). Select the scanner title below to learn more on how to use each:
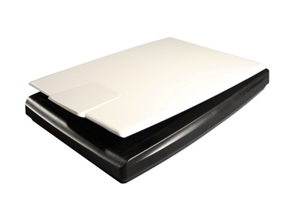
Flatbed Scanner
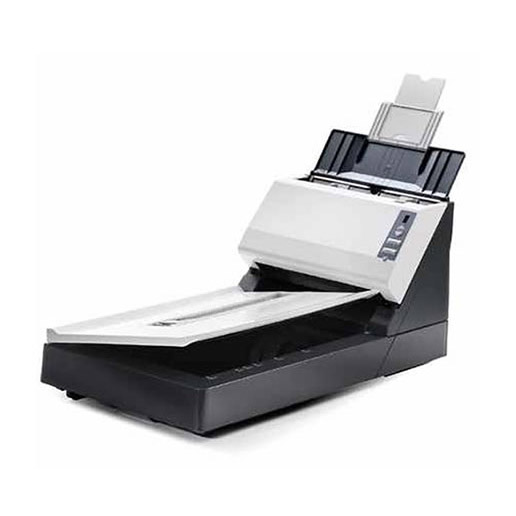
Duplex Scanner
FLATBED SCANNER
- At the print station, login to wēpa account by swiping campus or tagged card. If no card is available, select ‘Don’t have a card’ at the bottom. Select ‘Wepa Account Login‘ to manually login or select ‘Print From Cloud, USB, or Scan‘ if you have no account.
- Next, on the far middle right, select the ‘Scan / Copy‘ icon:

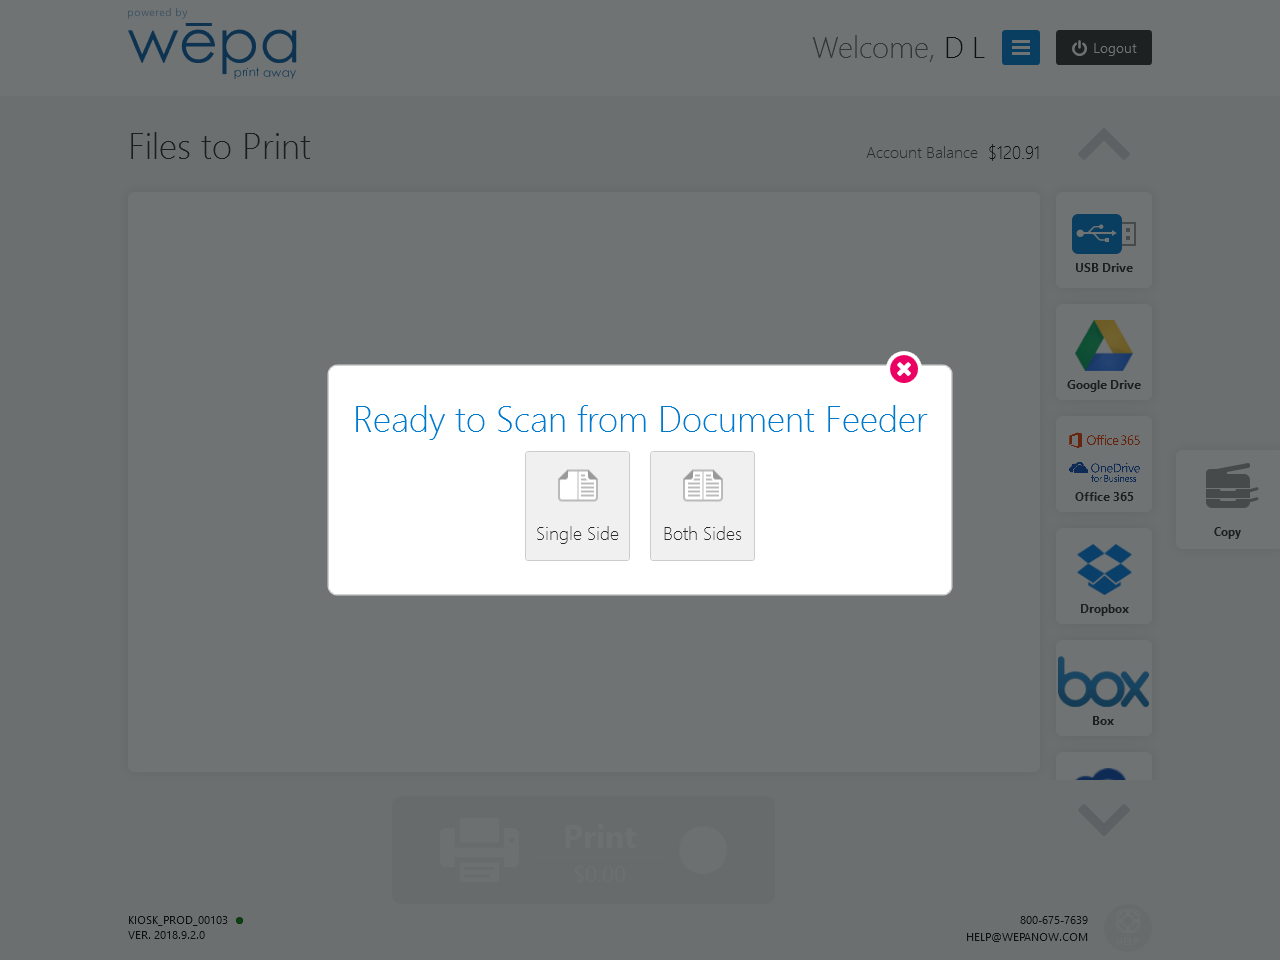
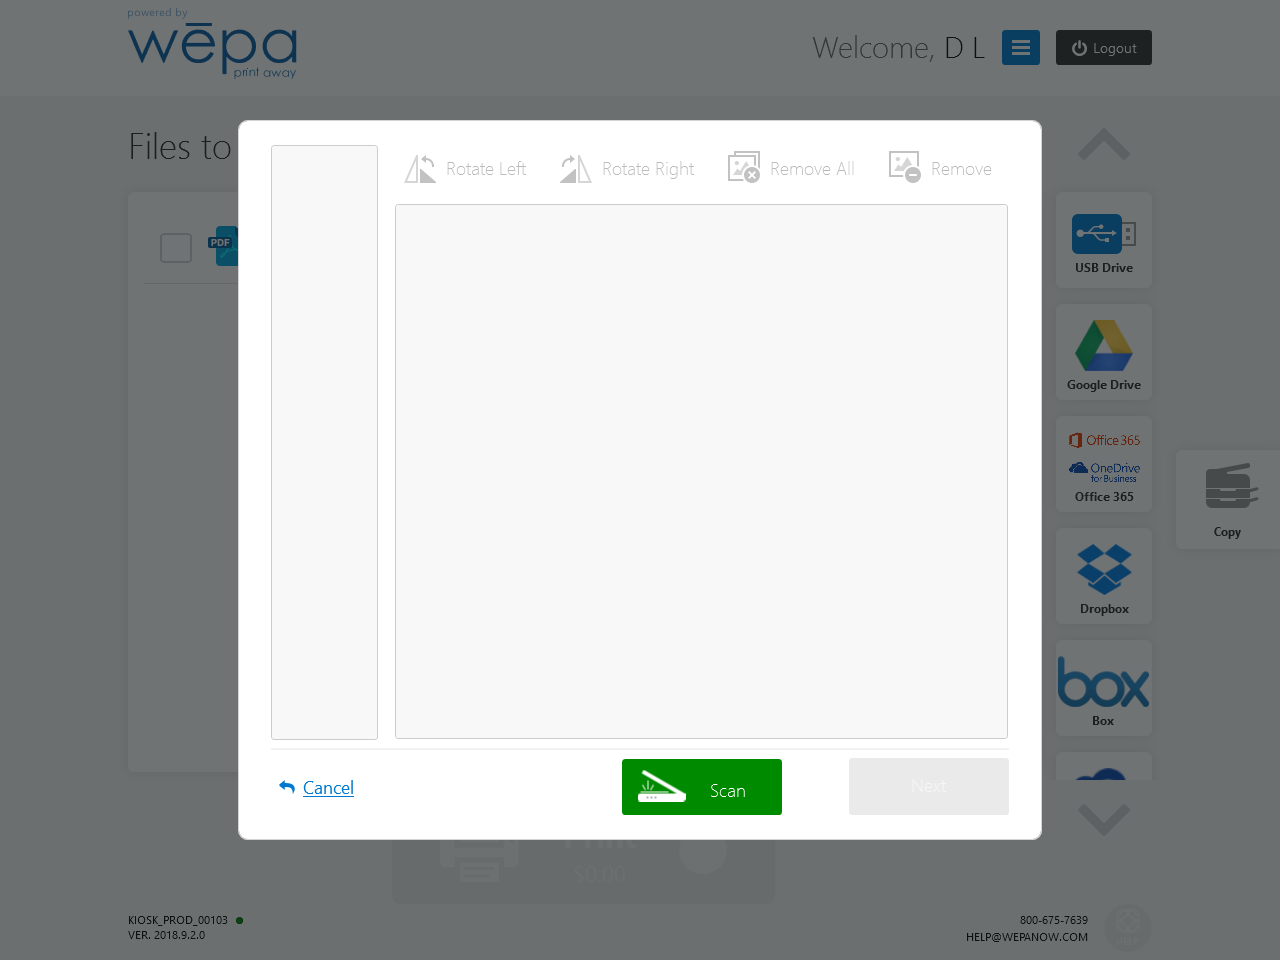
- The scan application will appear like below:

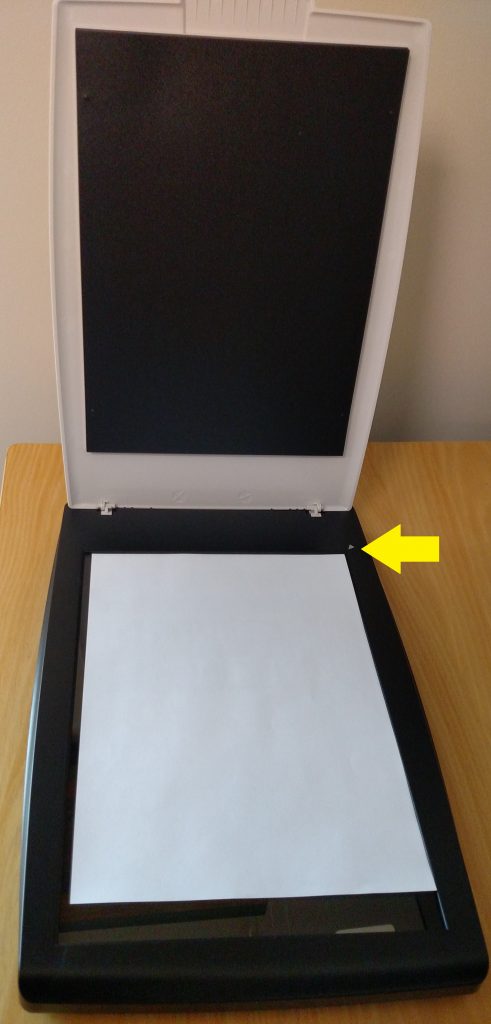
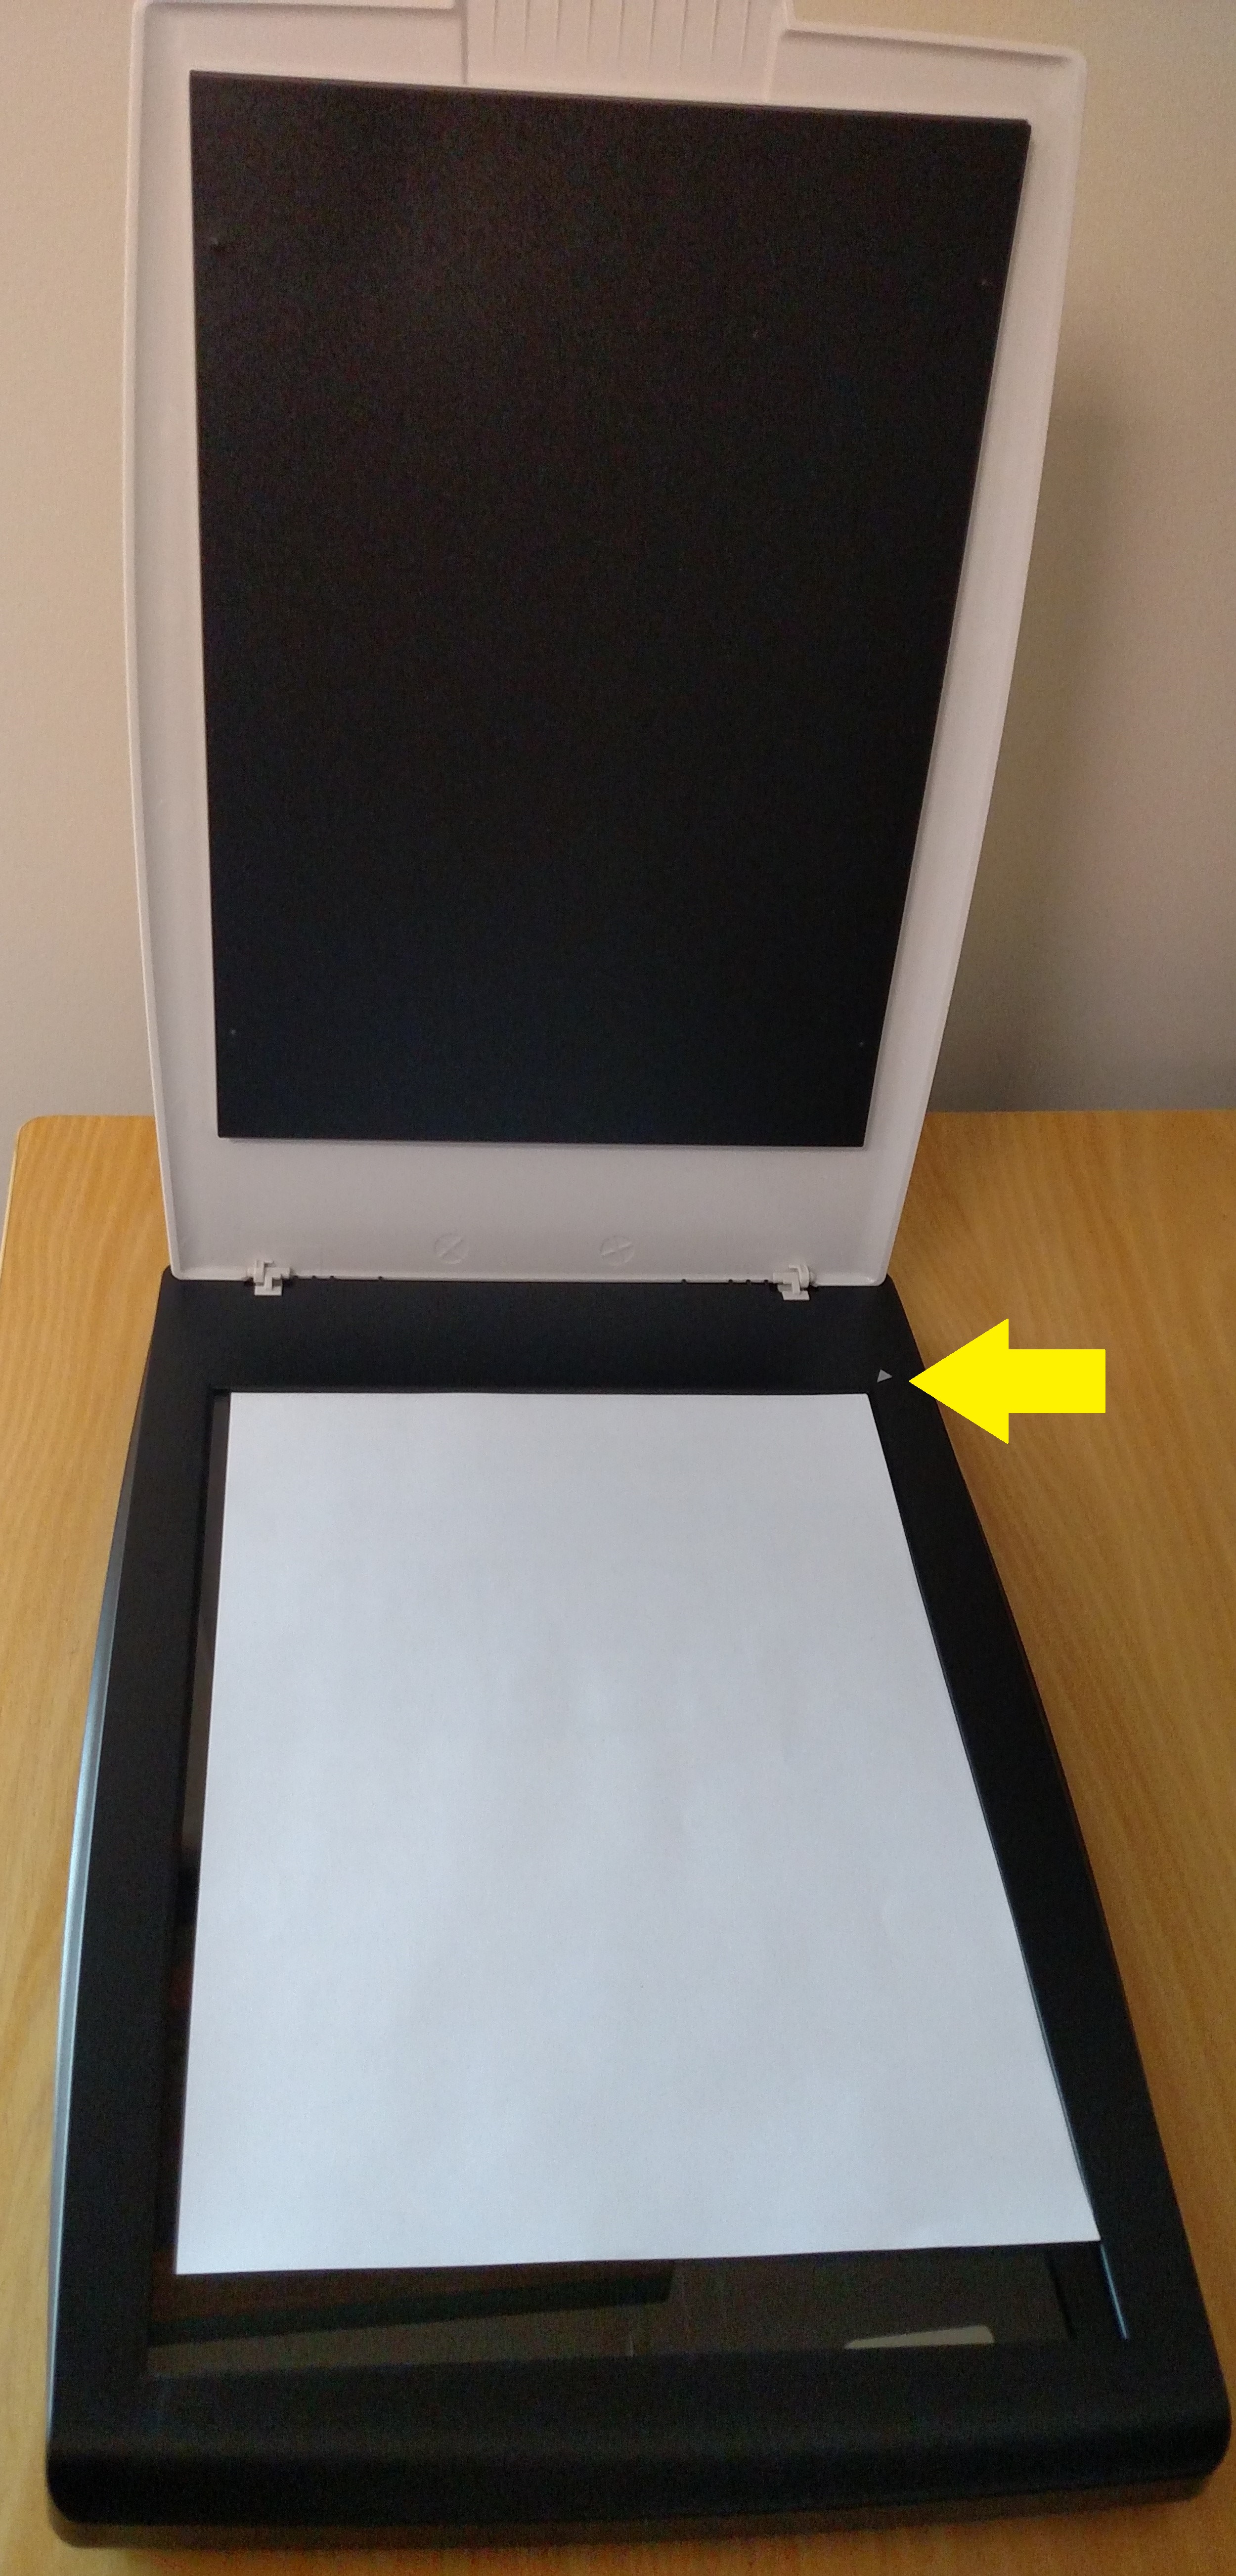
- Open the scanner top cover and place piece of paper with side to scan face down. Push top right corner of paper to the top right white arrow which is highlighted by the yellow arrow below and then close the scanner top cover:
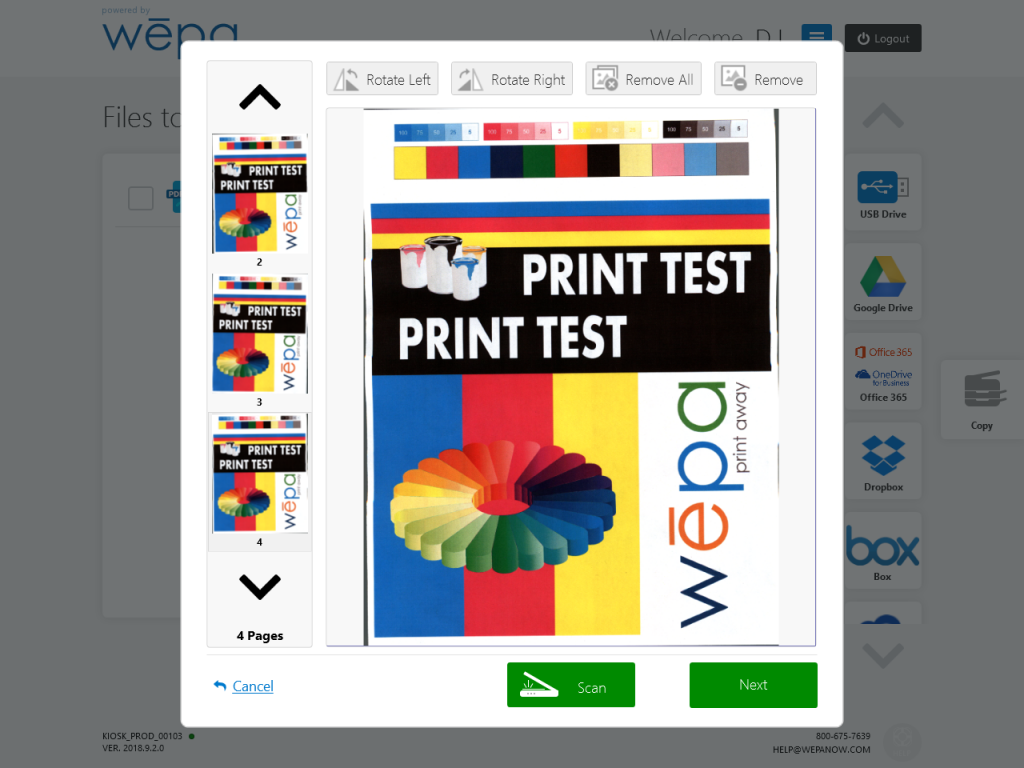
- Select the ‘Scan‘ icon from Step 3 and the page will be scanned with a preview. Place another piece of paper in the scanner as stated in Step 4 and select ‘Scan’ to scan another page. The scans will be shown on the left in the order they were scanned. To rotate the image, select the scan on the left and select either the ‘Rotate Left‘ or ‘Rotate Right‘ icons at the top. You can also remove the scan by selecting ‘Remove‘ or you can remove all of them by selecting ‘Remove All‘. When finished, select ‘Next‘ in the lower right corner:
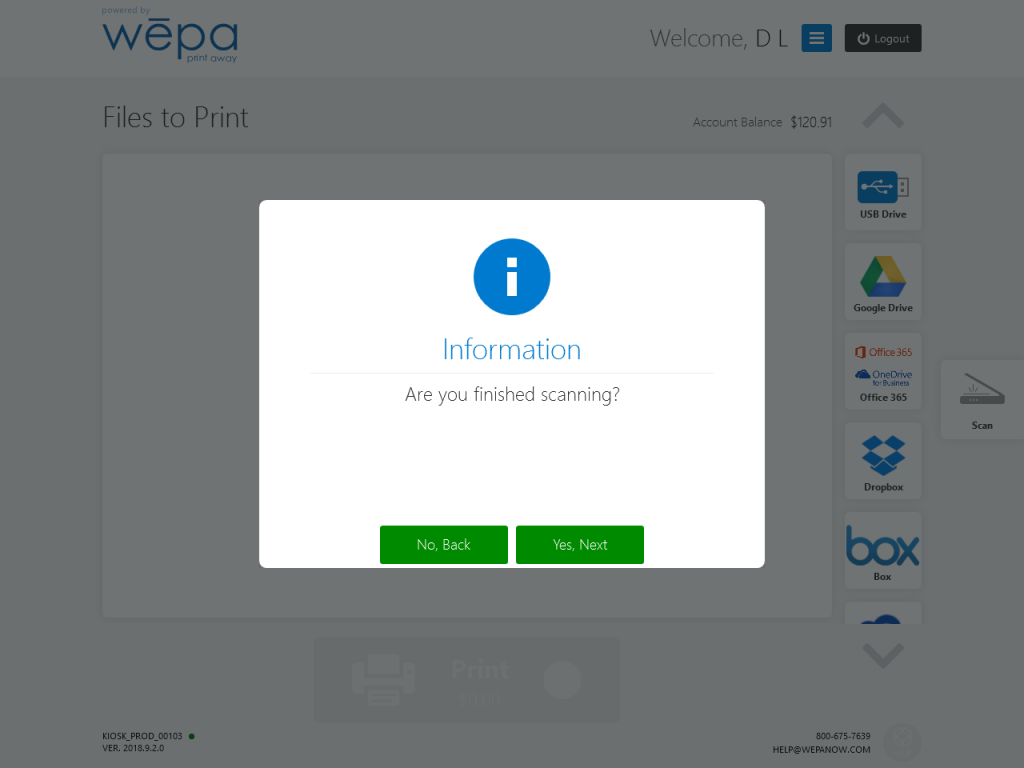
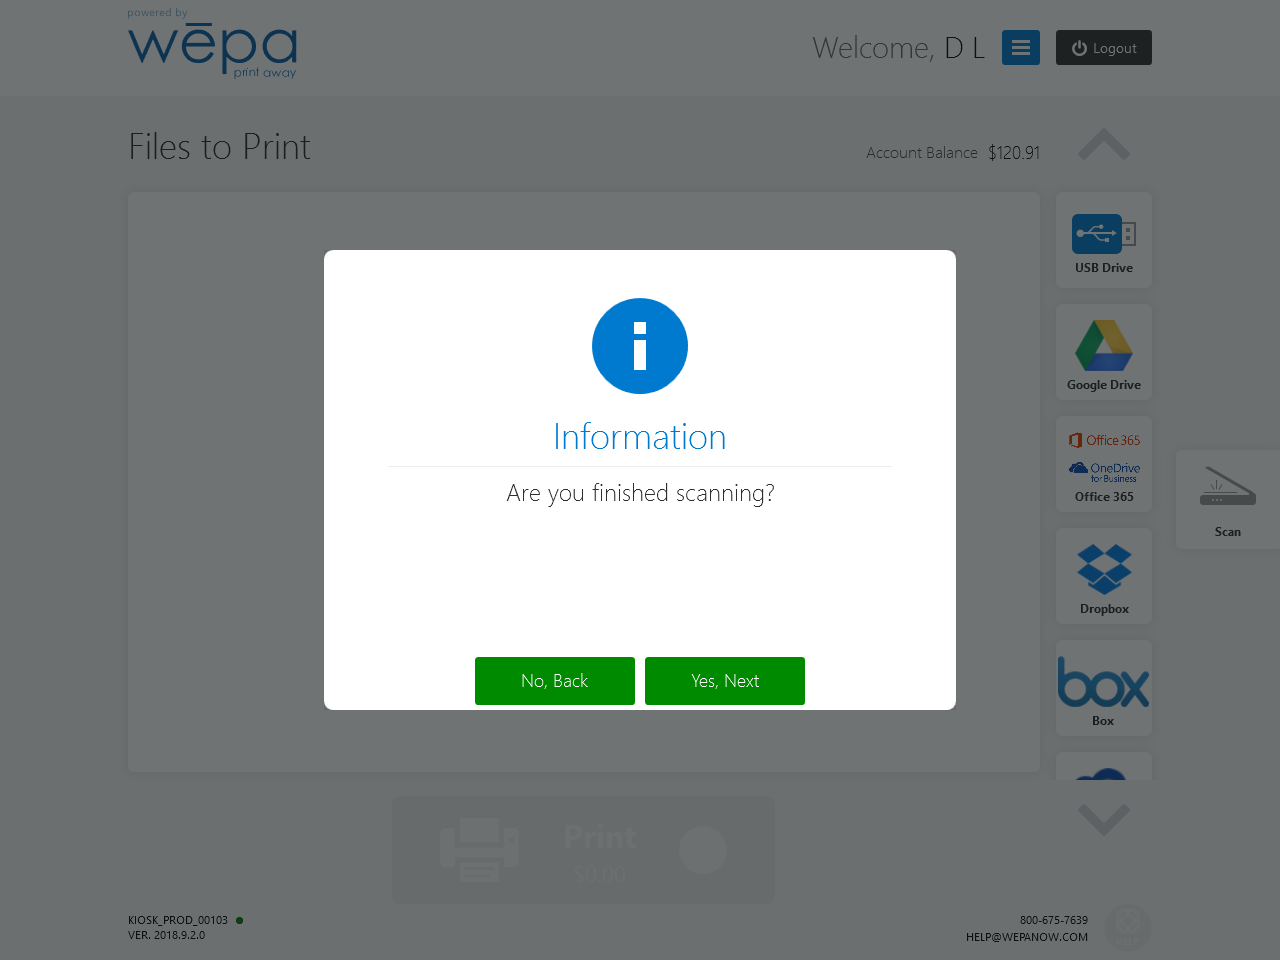
- The next screen is a confirmation you are finished scanning. Choose ‘No, Back‘ to scan additional pages or ‘Yes, Next‘ to proceed:
- The next prompt is to ‘Make Copies‘ or ‘Save to Cloud‘:
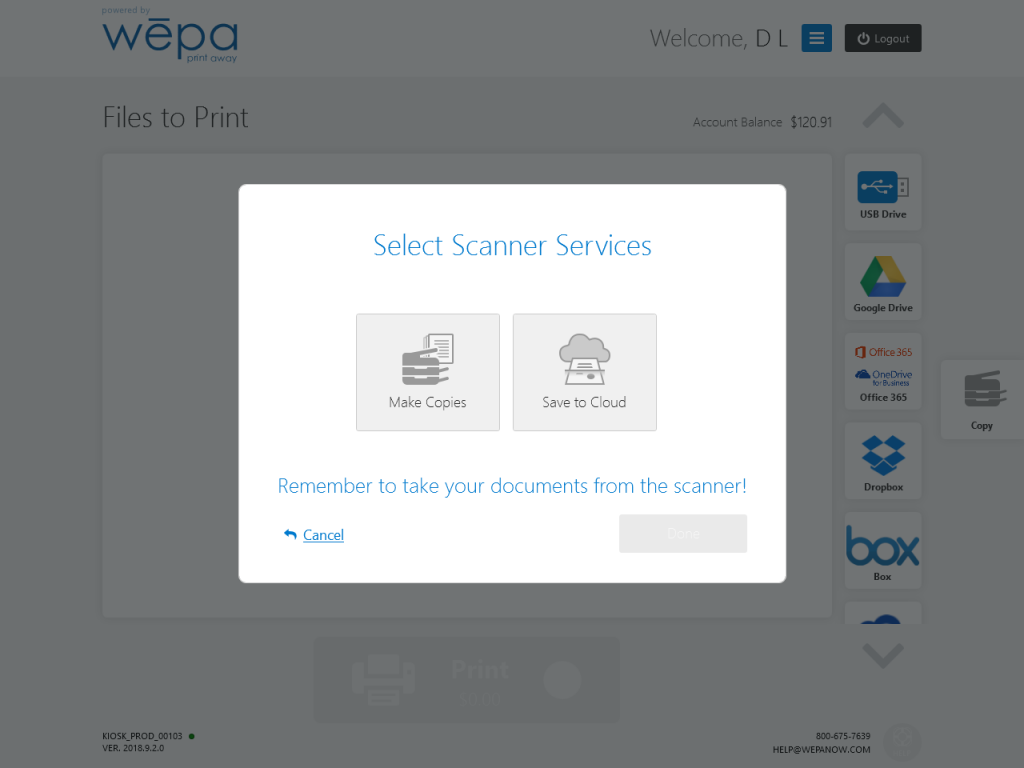
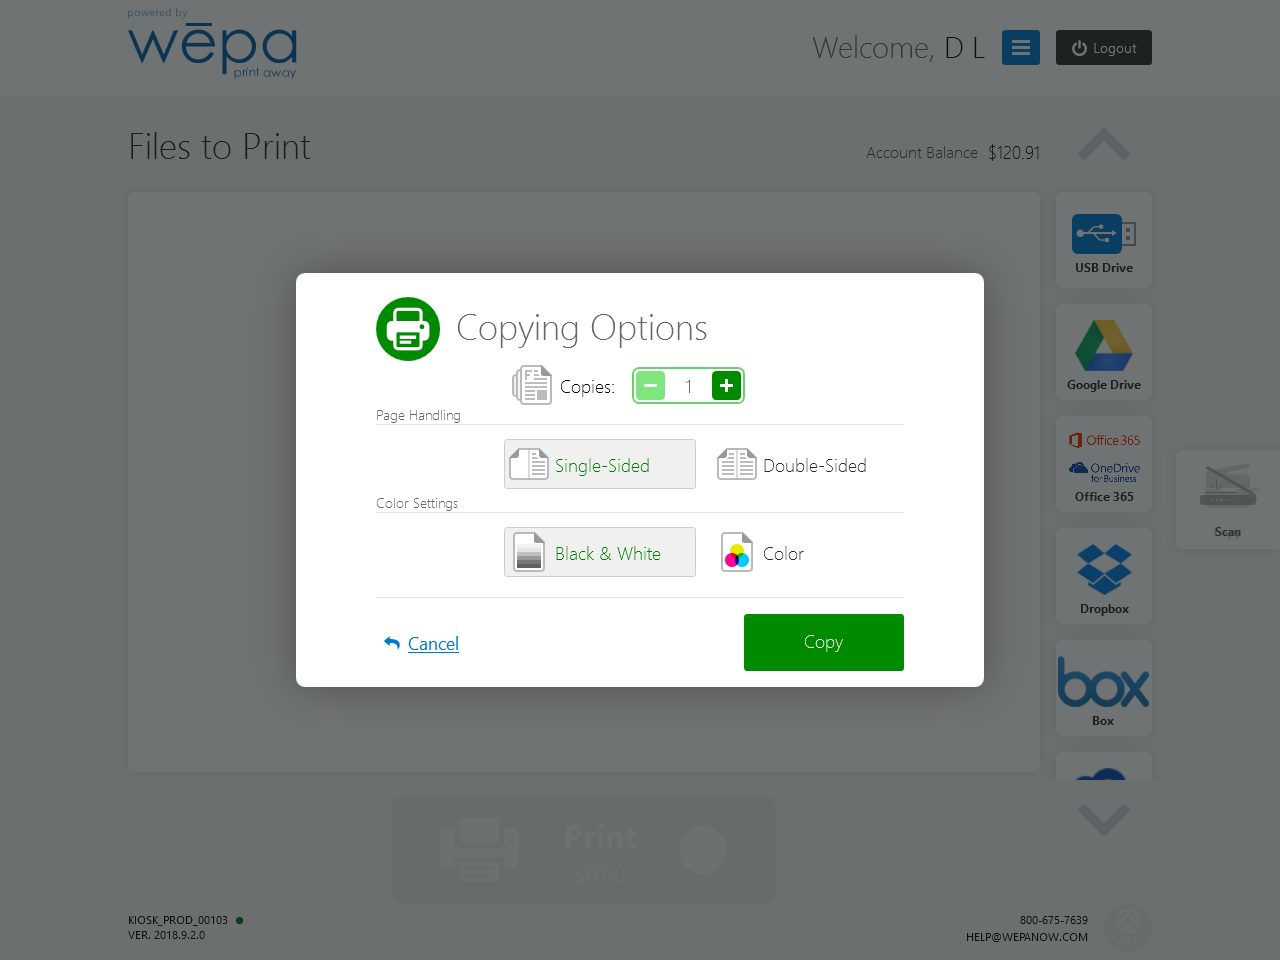
- MAKE COPIES: Select to print the scanned pages directly at the print station. Choose the number of copies, single or double-sided, and whether to print them in black & white or color. Select ‘Copy’ in the lower right to proceed in choosing a payment option and begin printing the scanned pages:

- SAVE TO CLOUD: Select to save the scanned pages as a pdf document to a cloud provider such as Google Drive, Office 365, Dropbox, and box:


DUPLEX SCANNER
- At the print station, login to wēpa account by swiping campus or tagged card. If no card is available, select ‘Don’t have a card’ at the bottom. Select ‘Wepa Account Login‘ to manually login or select ‘Print From Cloud, USB, or Scan‘ if you have no account.
- Next, on the far middle right, select the ‘Scan / Copy‘ icon:
- The scan application will appear like below:
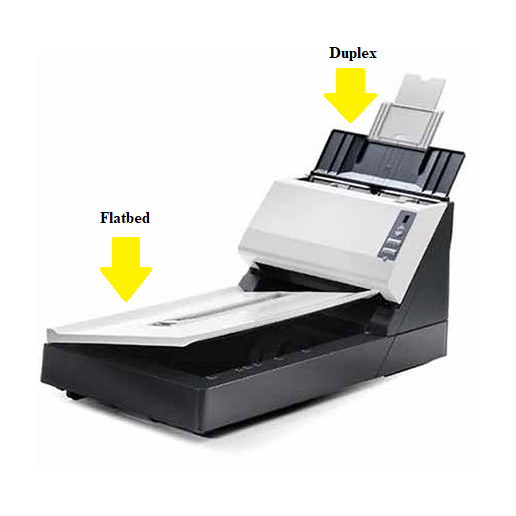
- There are two options with the duplex scanner. Either can scan one page at a time with the flatbed or scan multiple pages using the duplex. To use the flatbed, open the scanner top cover and place a piece of paper with side to scan face down. Push top right corner of paper to the top right white arrow. To use the duplex feeder, place up to 50 pieces of paper into the feeder. The correct orientation to place the pieces of paper in the duplex feeder is have the front page facing towards the scanner and in the down position:
- Select the ‘Scan‘ icon from Step 3. If using the flatbed, the page will be scanned with a preview. Place another piece of paper in the flatbed and select ‘Scan’ to scan another page. If using the duplex feeder, a prompt will request if you would like to scan the front side of each piece of paper or both sides:

- The scanned images will be provided as a preview as shown below. The scans will be shown on the left in the order they were scanned. To rotate the image, select the scan on the left and select either the ‘Rotate Left‘ or ‘Rotate Right‘ icons at the top. You can also remove the scan by selecting ‘Remove‘ or you can remove all of them by selecting ‘Remove All‘. When finished, select ‘Next‘ in the lower right corner:
- The next screen is a confirmation you are finished scanning. Choose ‘No, Back‘ to scan additional pages or ‘Yes, Next‘ to proceed:
- The next prompt is to ‘Make Copies‘ or ‘Save to Cloud‘:
- MAKE COPIES: Select to print the scanned pages directly at the print station. Choose the number of copies, single or double-sided, and whether to print them in black & white or color. Select ‘Copy’ in the lower right to proceed in choosing a payment option and begin printing the scanned pages:
- SAVE TO CLOUD: Select to save the scanned pages as a pdf document to a cloud provider such as Google Drive, Office 365, Dropbox, and box: