Print PowerPoint documents with multiple slides per page by using any of the print methods below:
PRINT METHODS
PRINT APP DRIVER
- Download and install the wepa print app driver from the wepa website or from the below links:
- Open the document normally then select File>Print and select a wepa printer from the printer drop down menu.
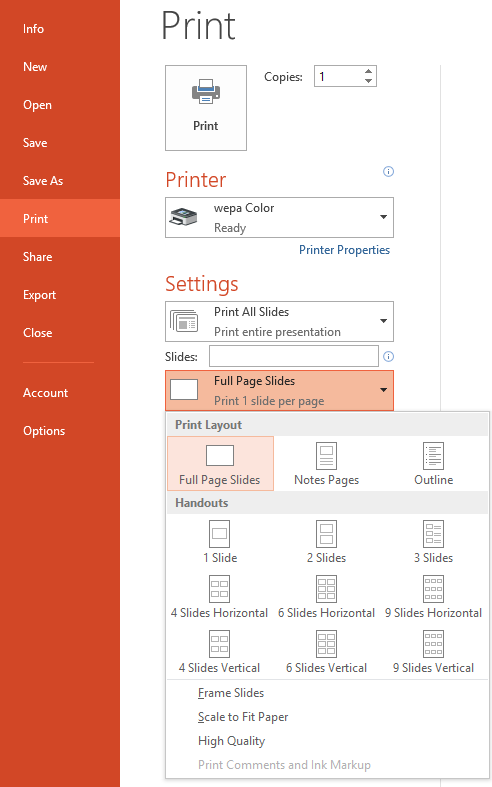
- For Windows, under Settings, select Full Page Slides for a drop down menu and select an option under Handouts:
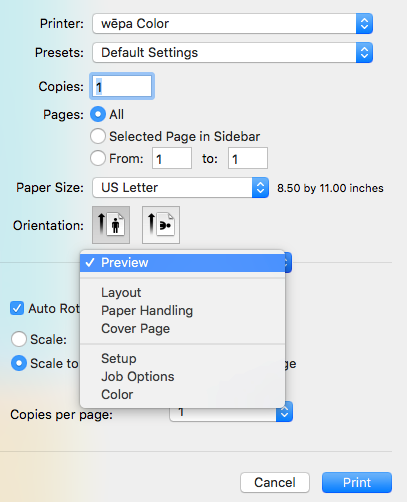
- For Mac, select Preview for a drop down menu then select Layout:
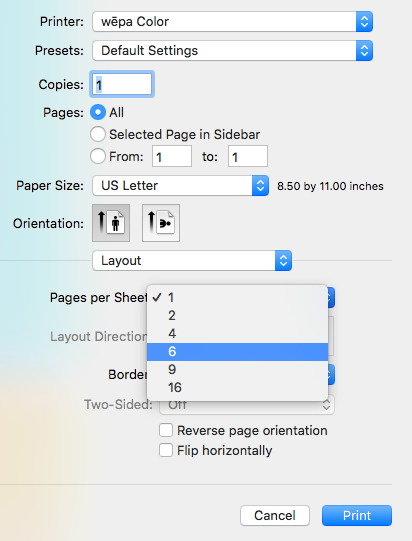
- Under Pages per Sheet, select the number of pages to print per page:
- Confirm settings with the print preview and select Print to complete uploading the document.
- Click here for more details.
WEB UPLOAD
- Login to your wepa account at the wepa website and select Document Upload in the top right black menu bar.
- Step 1: Select ‘Choose your file‘ and find your document in the computer directory or simply drag the PowerPoint document to the ‘Upload Your Document‘ window.
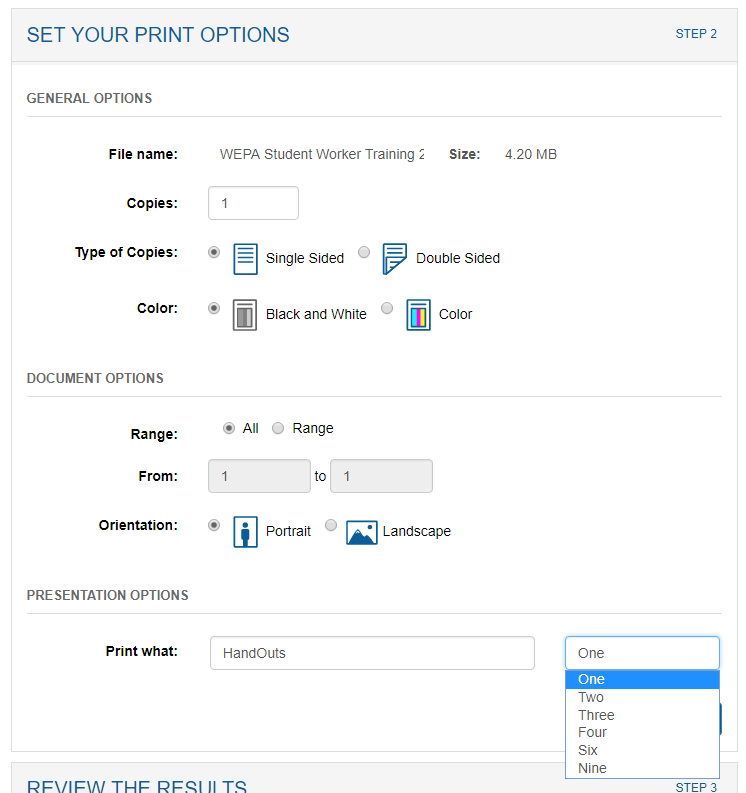
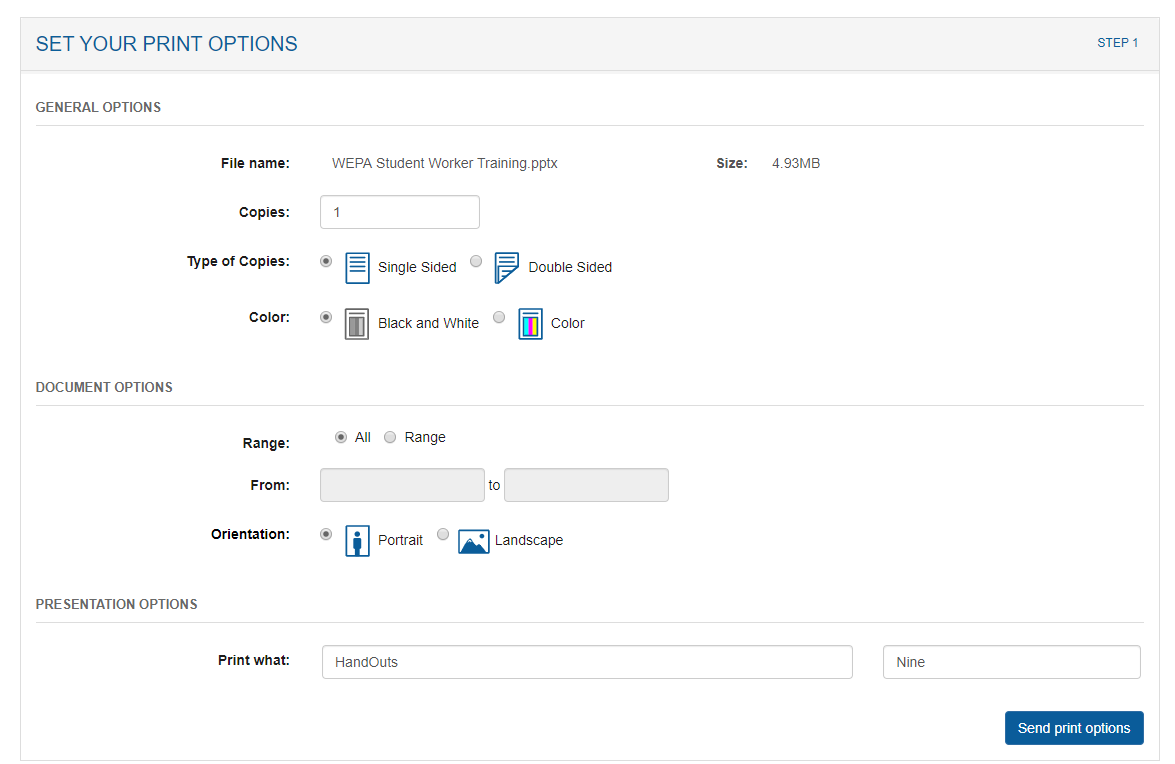
- Step 2: Change print options. Under ‘Presentation Options‘, select Handouts from the ‘Print What‘ field. Another field will appear to the right to select the number of slides to print per page:
- Select ‘Send Print Options‘ to complete the web upload.
- Click here for more details.
EMAIL TO PRINT
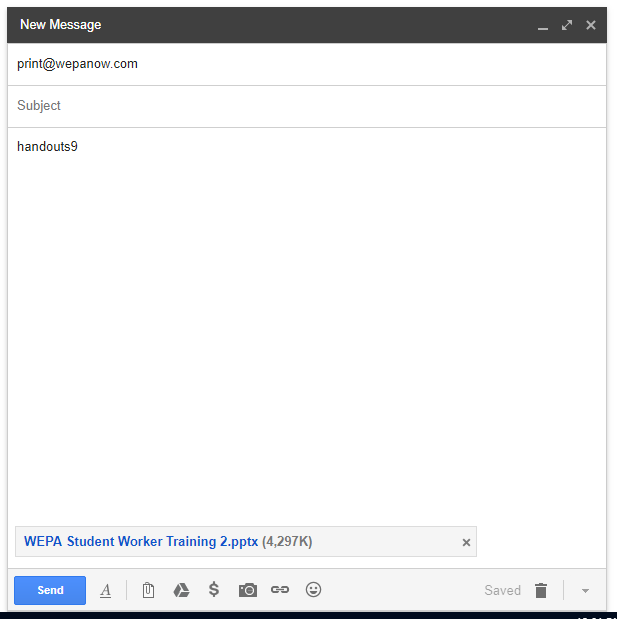
- Open a new email and enter print@wepanow.com in the To: field, then attach a PowerPoint document.
- Enter on the first line of the email body handouts followed by the number of slides per page. Below are acceptable values:
- handouts2 – 2 slides per page
- handouts3 – 3 slides per page
- handouts4 – 4 slides per page
- handouts6 – 6 slides per page
- handouts9 – 9 slides per page
- Send the email and a follow up confirmation email will arrive within minutes showing the print options of pages, color or black/white, and 1-sided or 2-sided:
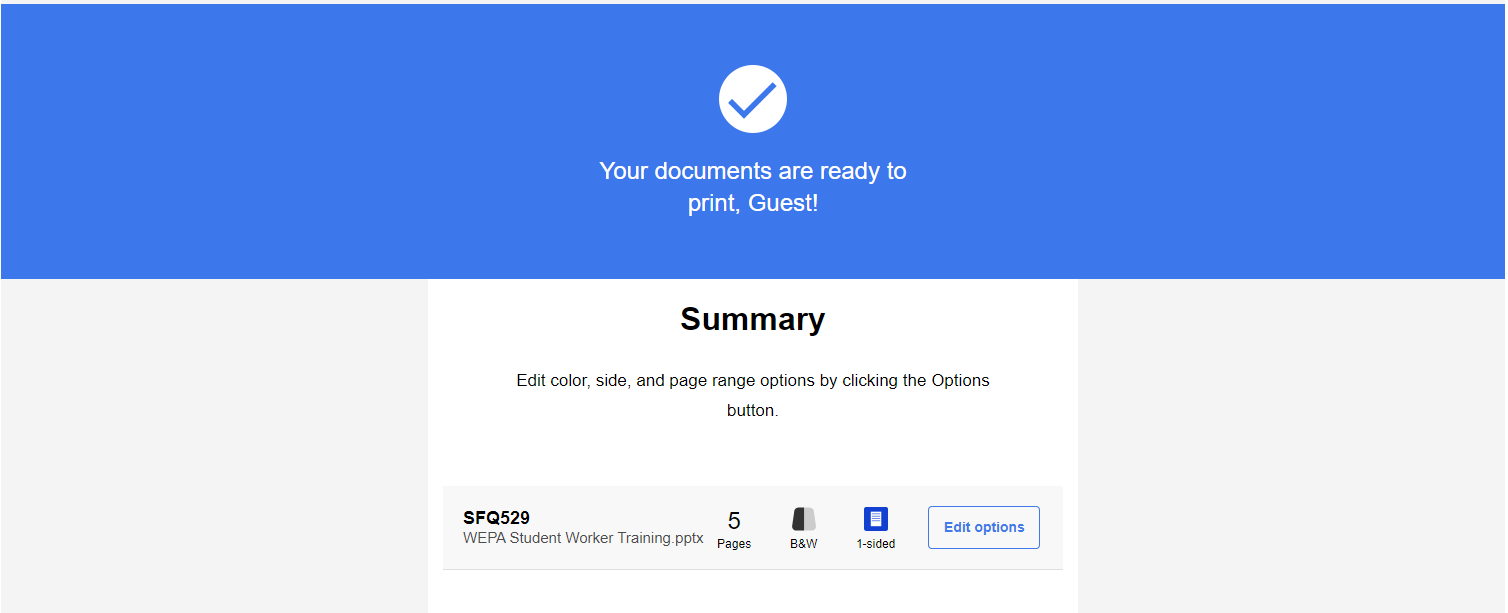
- Select Edit Options for a wepa webpage to launch and see the existing options that are set. Also change these options and select ‘Send print options’ to finalize the changes:

- Click here for more details.
MOBILE APP
- Install the wepa print app from either the Google Play Store for Android phones or the Apple iTunes App Store for iPhones.
- Open the PowerPoint document and either share to or open with the wepa print app.
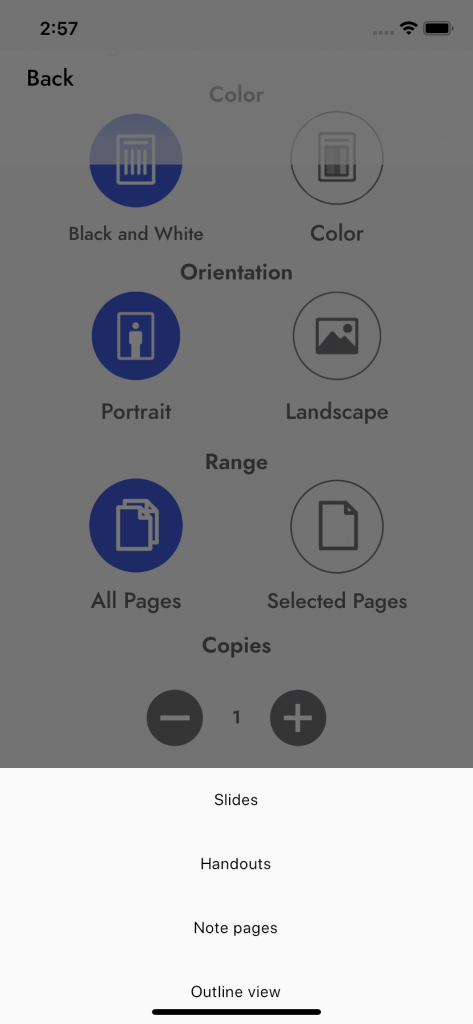
- At bottom, select the Print Mode section for options to appear:
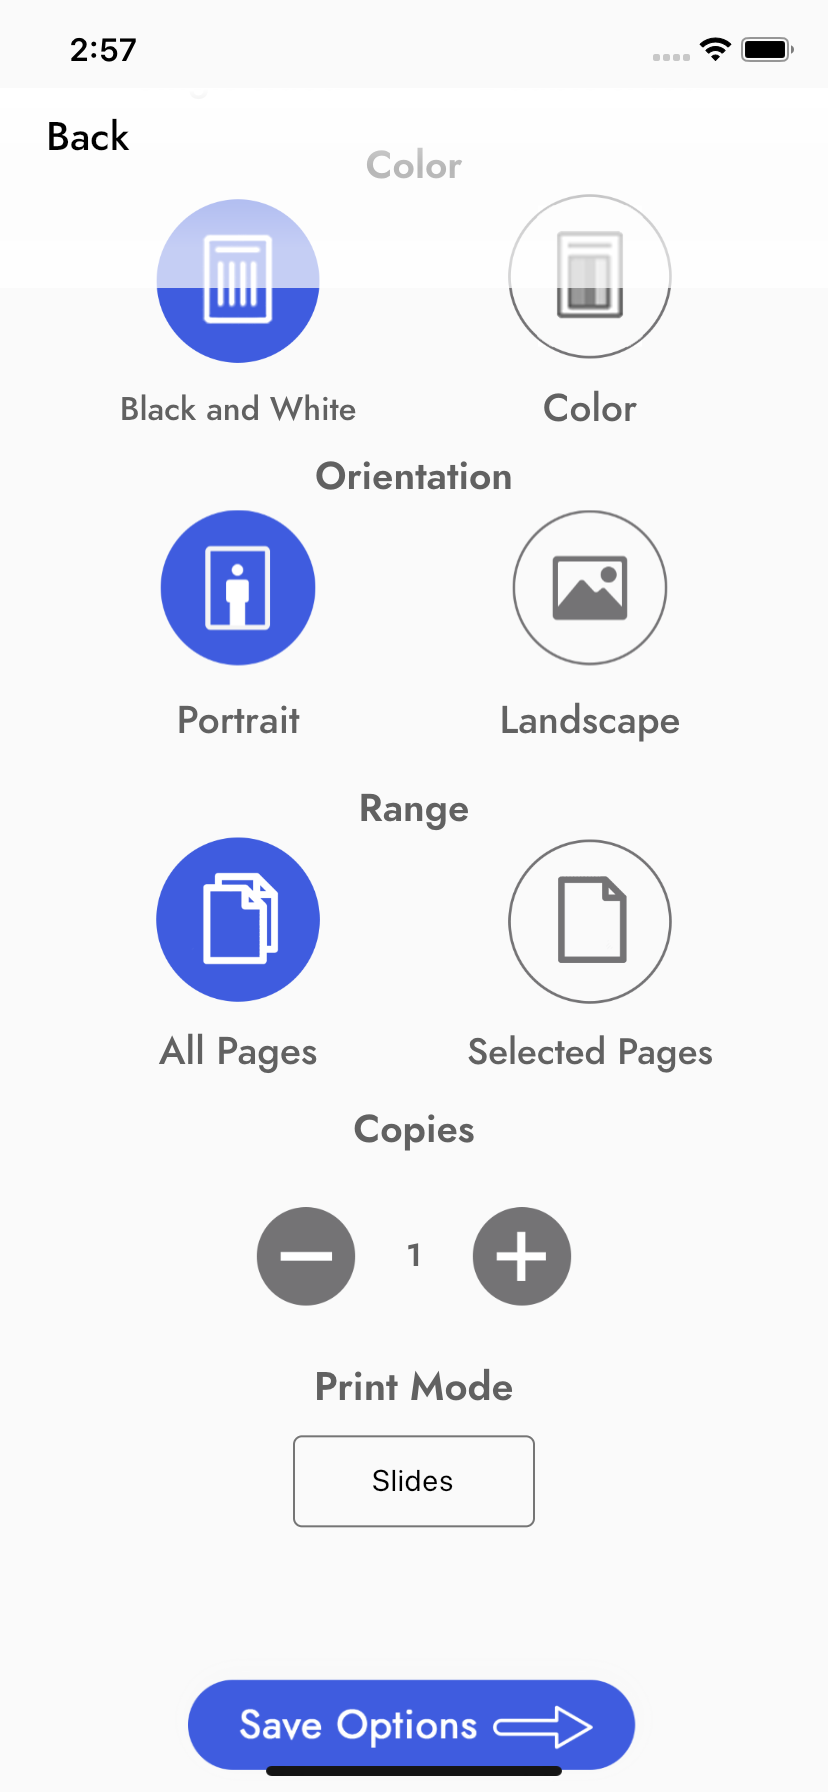
- Options will include ‘Slides’, ‘Handouts’, ‘Note pages’, ‘Outline view’. Select Handouts to proceed:
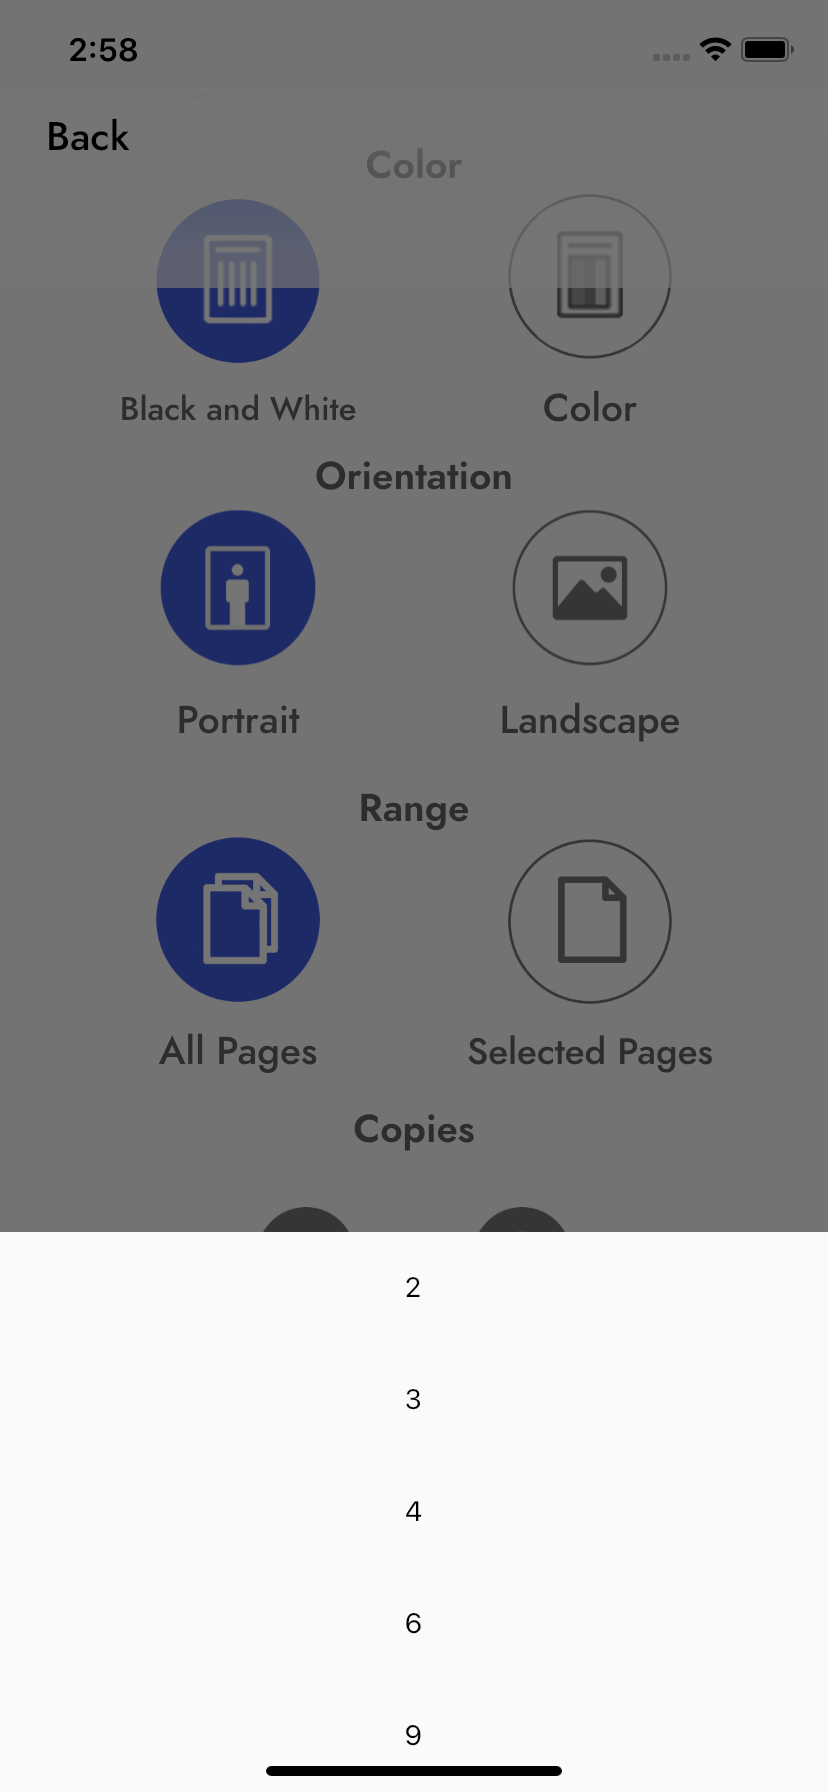
- Next, select the number of pages to print on each page:

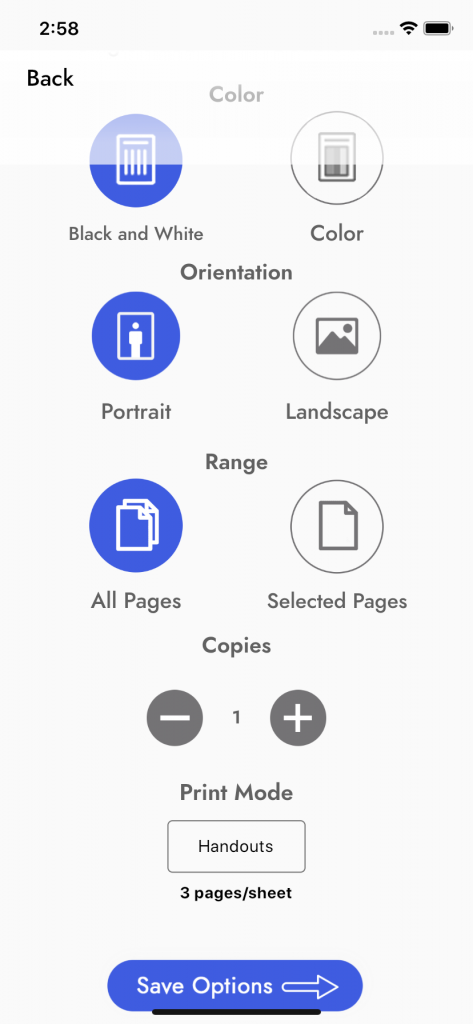
- Before submitting for upload, confirm under the Print Mode section shows the number of pages / sheet is shown like below. If correct, proceed to upload the file by selecting Save Options.


- Click here for more details regarding the Android/iOS wepa mobile apps.
CLOUD | LMS | USB
- Login to your wepa account at the Print Station by either swiping a campus/tagged card or manually entering username/password credentials by selecting ‘Don’t have a card’ at the bottom then wepa account login. If no account, select ‘Print From Cloud or USB (no account)‘.
- Choose either USB Drive or a Cloud or LMS application on the right and login with appropriate credentials.
- Select Preview by the PowerPoint document and then under Print Layout, select Full Page Slides for a drop down menu to select multiple slides per page:
